30 in 30: Day Ten

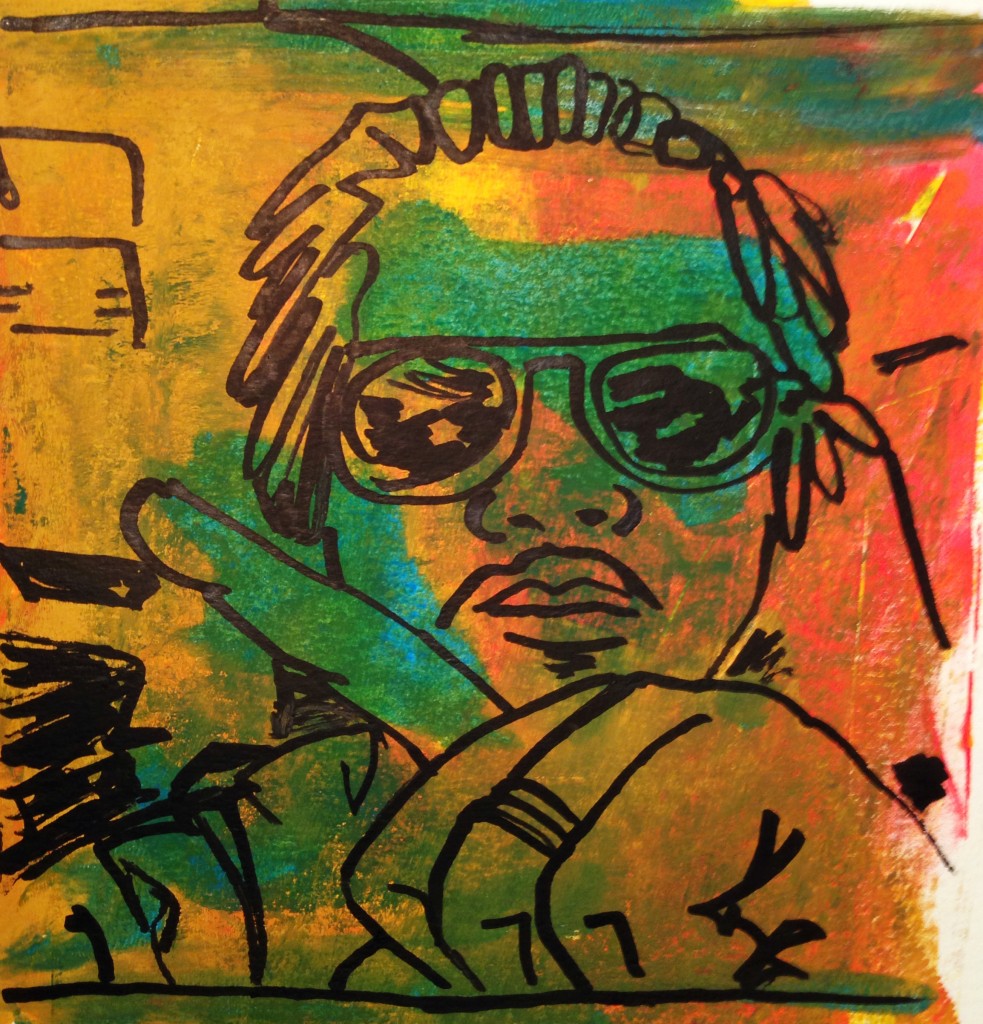
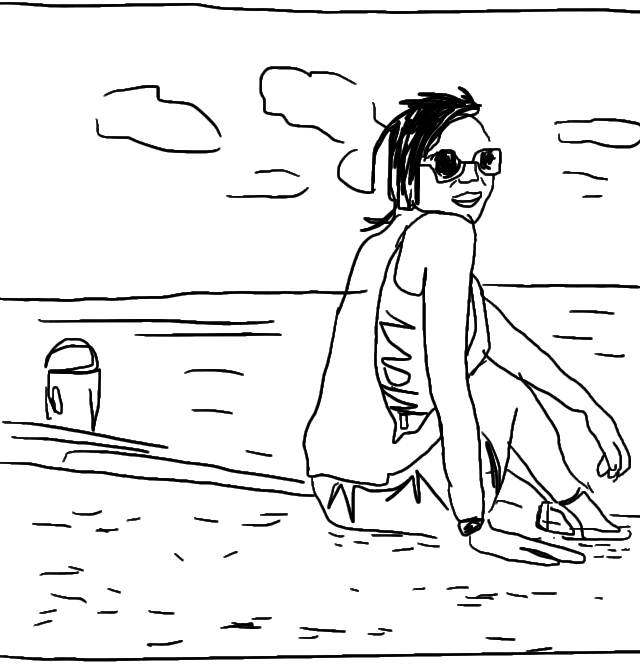
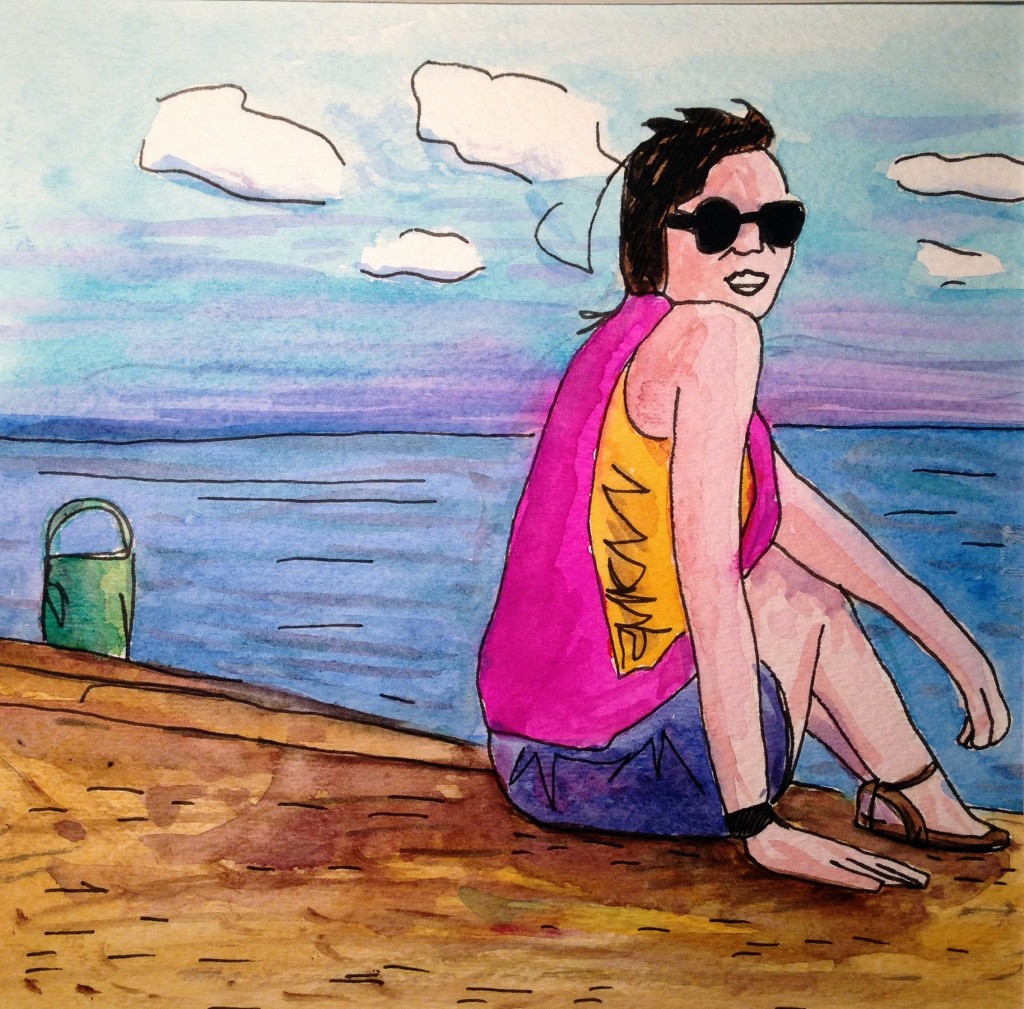
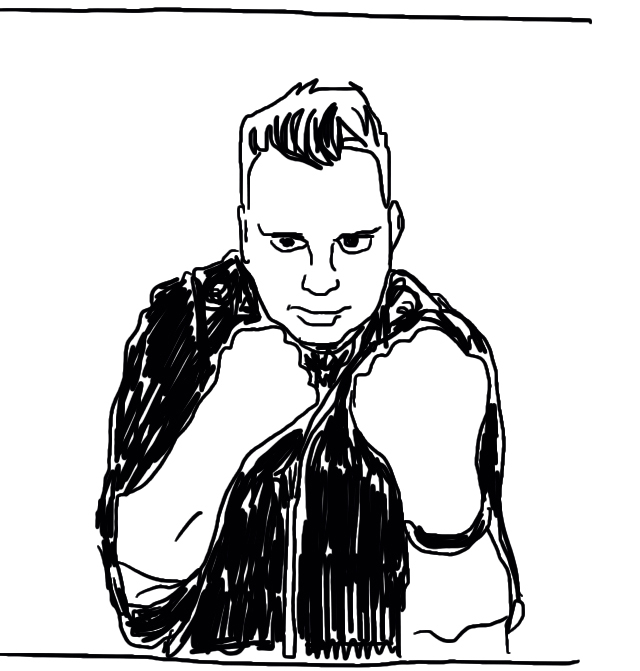
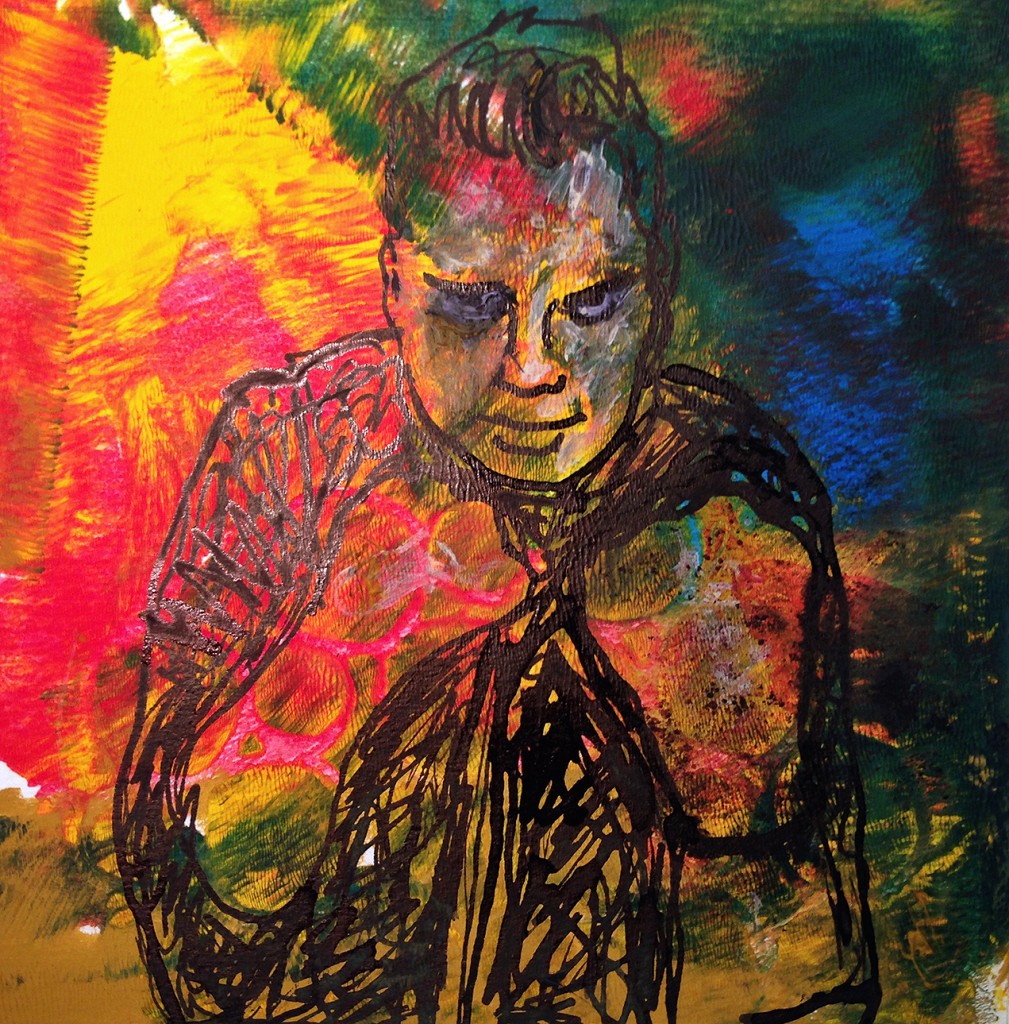
Day 10 of my 30 paintings in 30 days challenge. I'm using sketches i created from Instagram photos on my iPhone I did as part of a 100 day project and turing 30 of them into paintings. User: @thegivingkeys / @cubbygraham / @charitywater

Original Instagram photo:

Day10_instagram


100 Day iPhone Sketch:

day10_sketch


30 in 30 day painting:

Day10


Acrylic & Ink. 8 x 8 on 140 lb. watercolor paper.

30 in 30: Day Nine

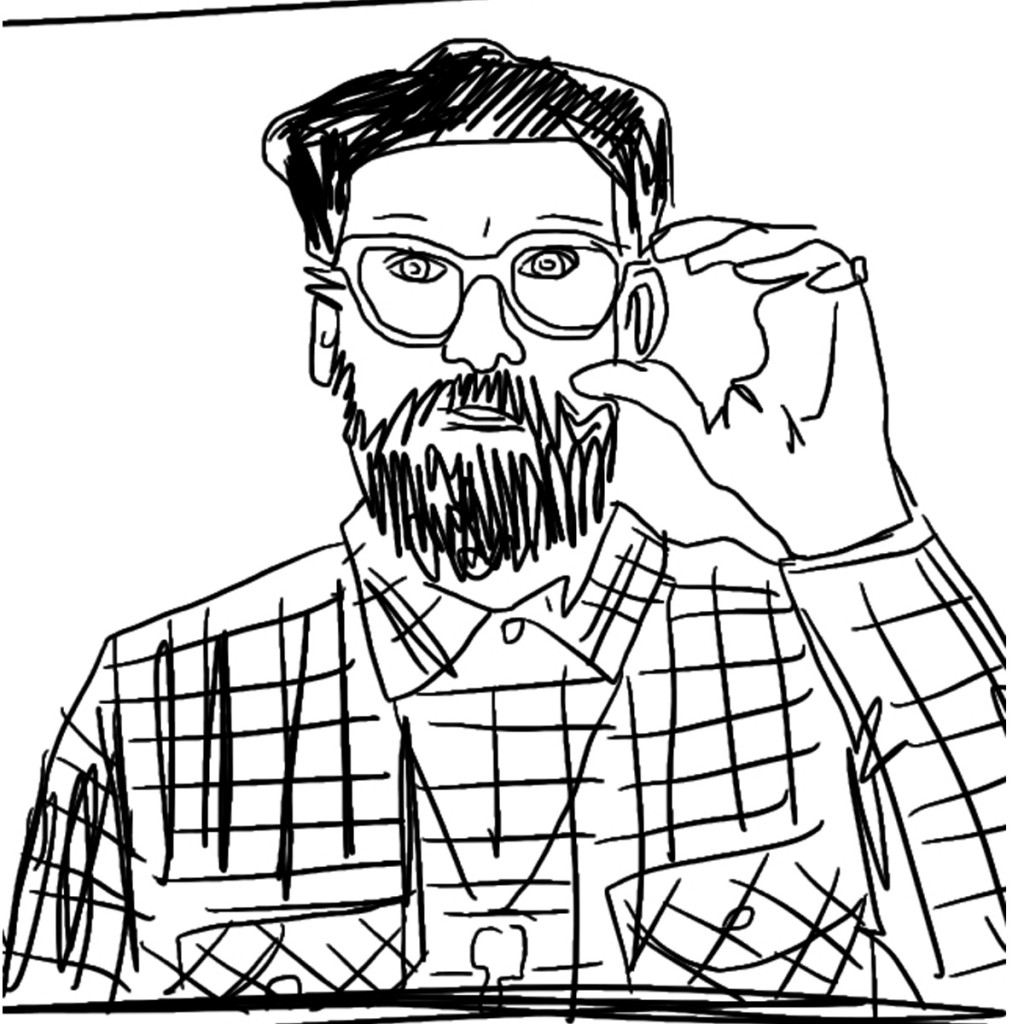
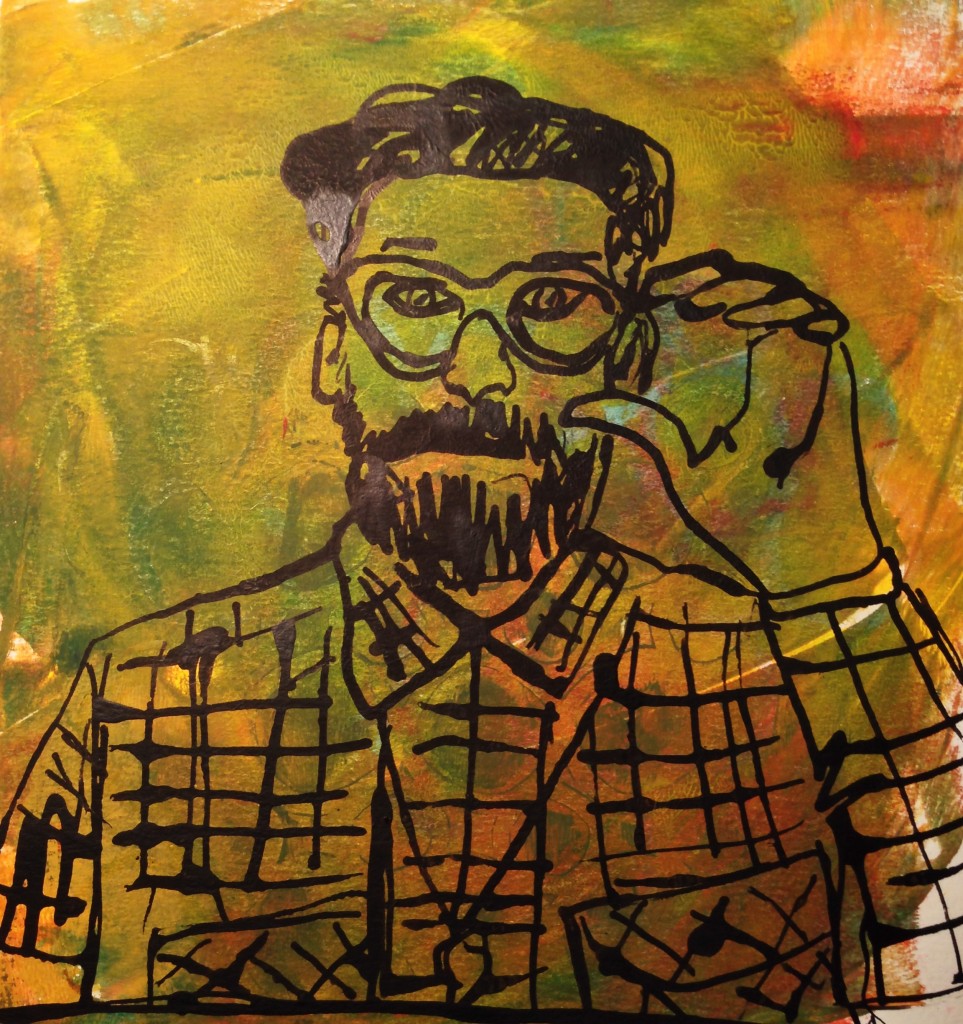
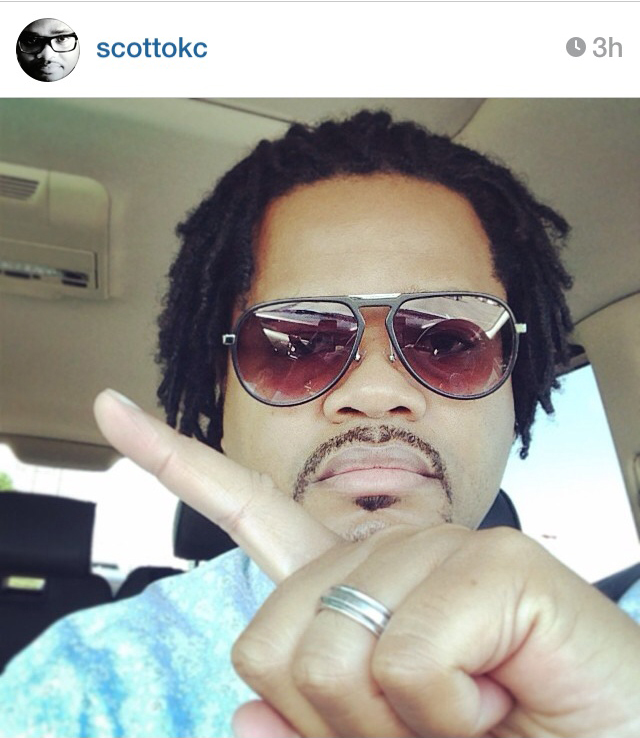
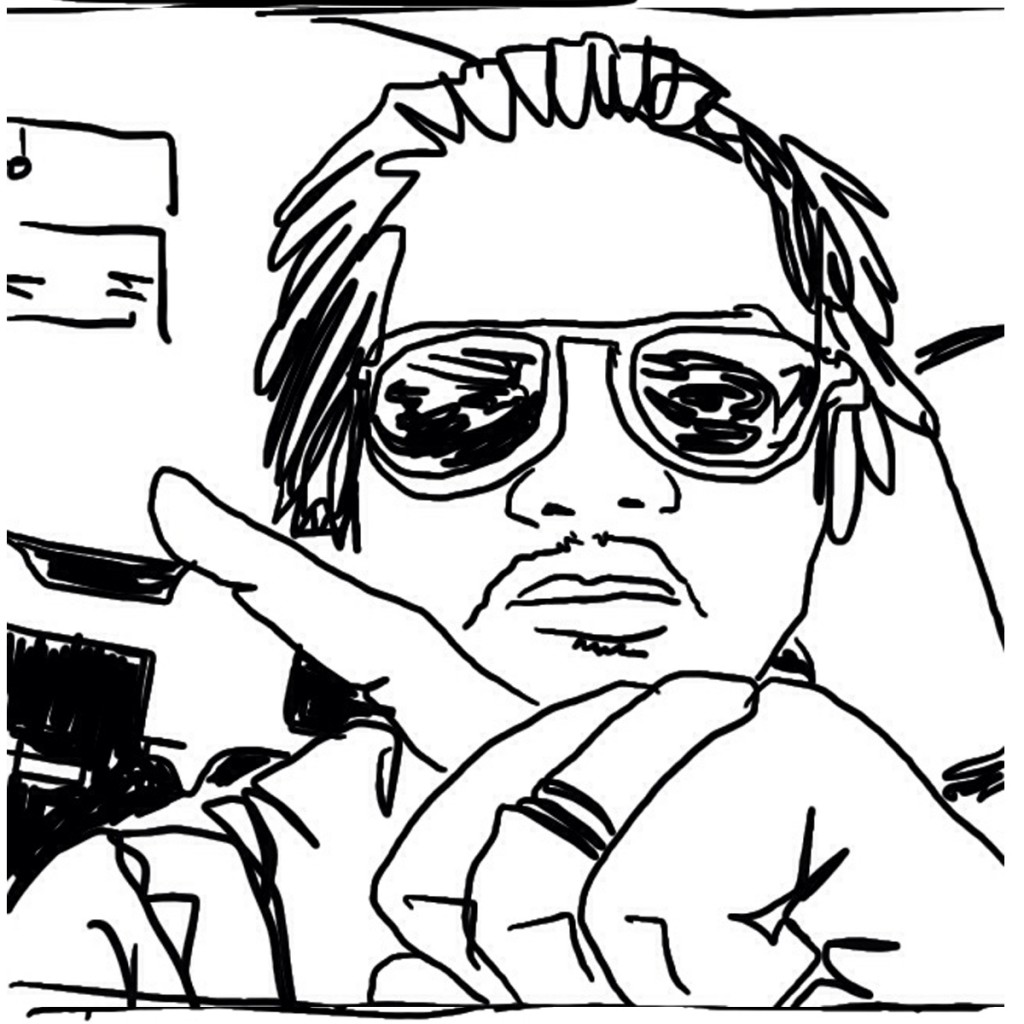
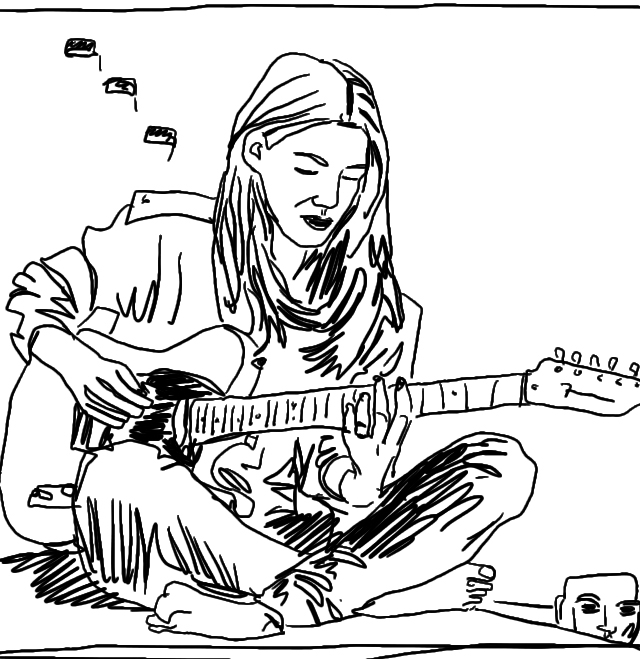
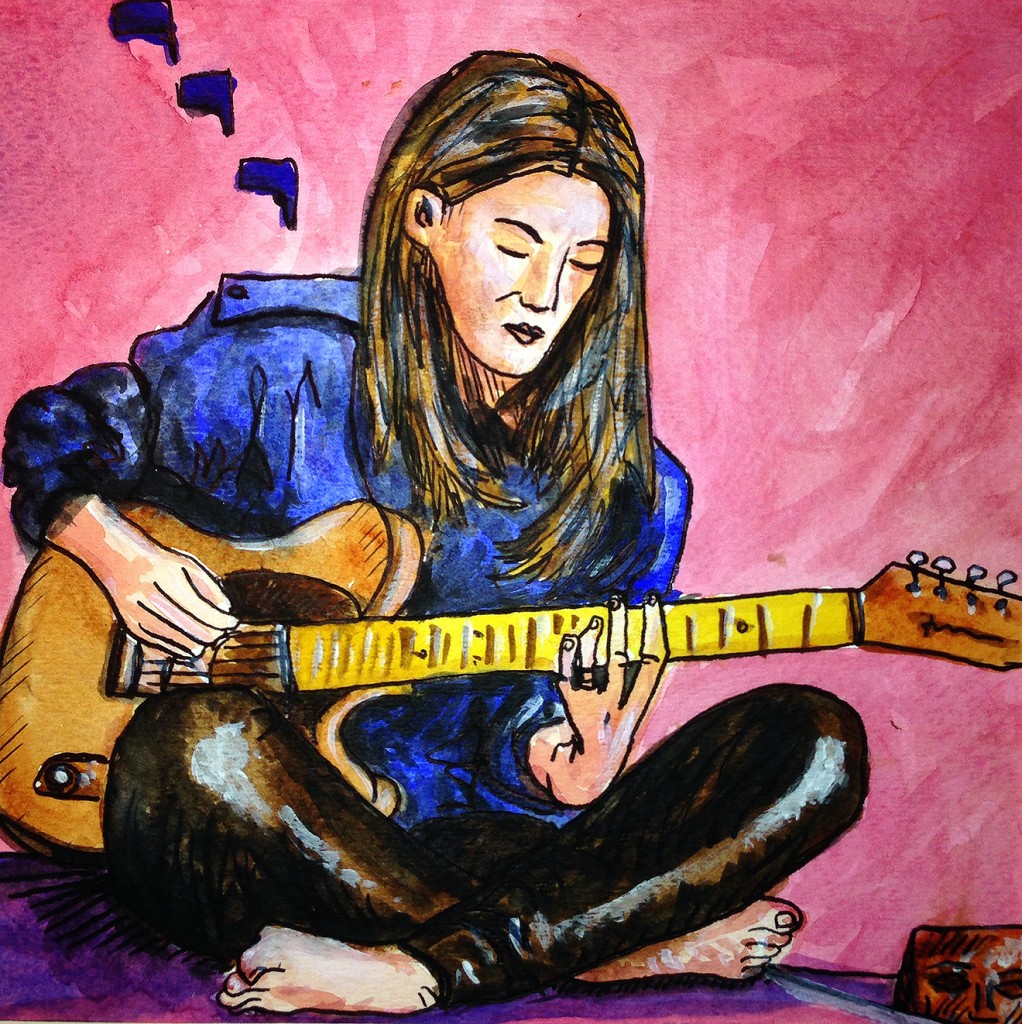
Day 9 of my 30 paintings in 30 days challenge. I'm using sketches i created from Instagram photos on my iPhone I did as part of a 100 day project and turing 30 of them into paintings. User: @scottokc

Original Instagram photo:


Day9_instagram

100 Day iPhone Sketch:

day9_sketch


30 in 30 day painting:

Day9


Acrylic & Ink. 8 x 8 on 140 lb. watercolor paper.

30 in 30: Day Eight

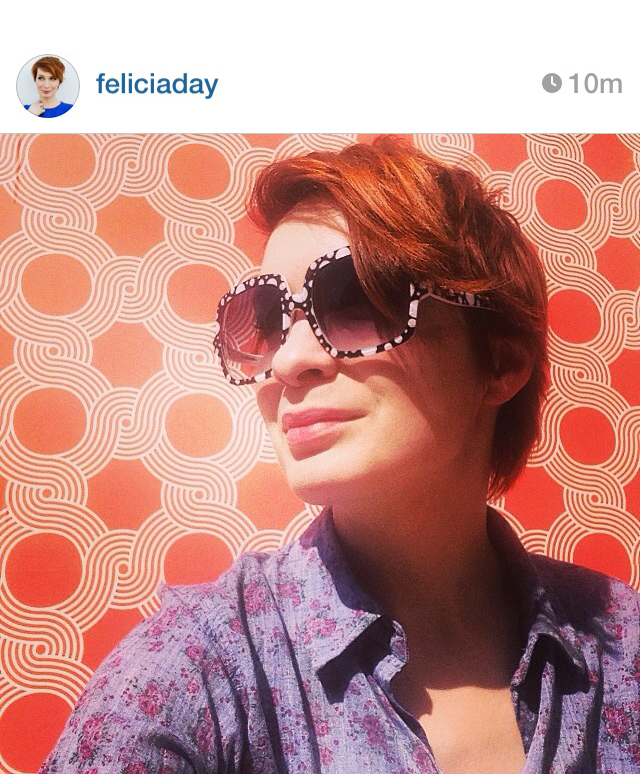
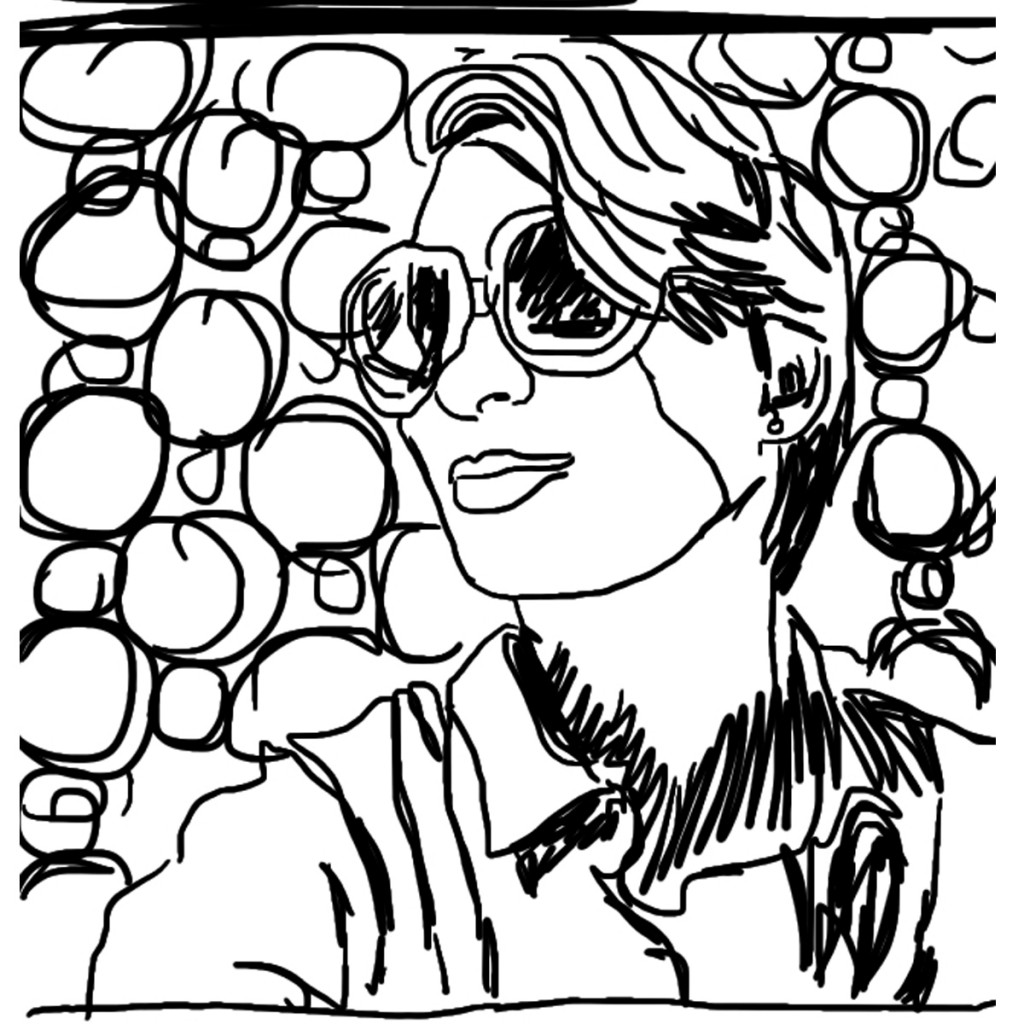
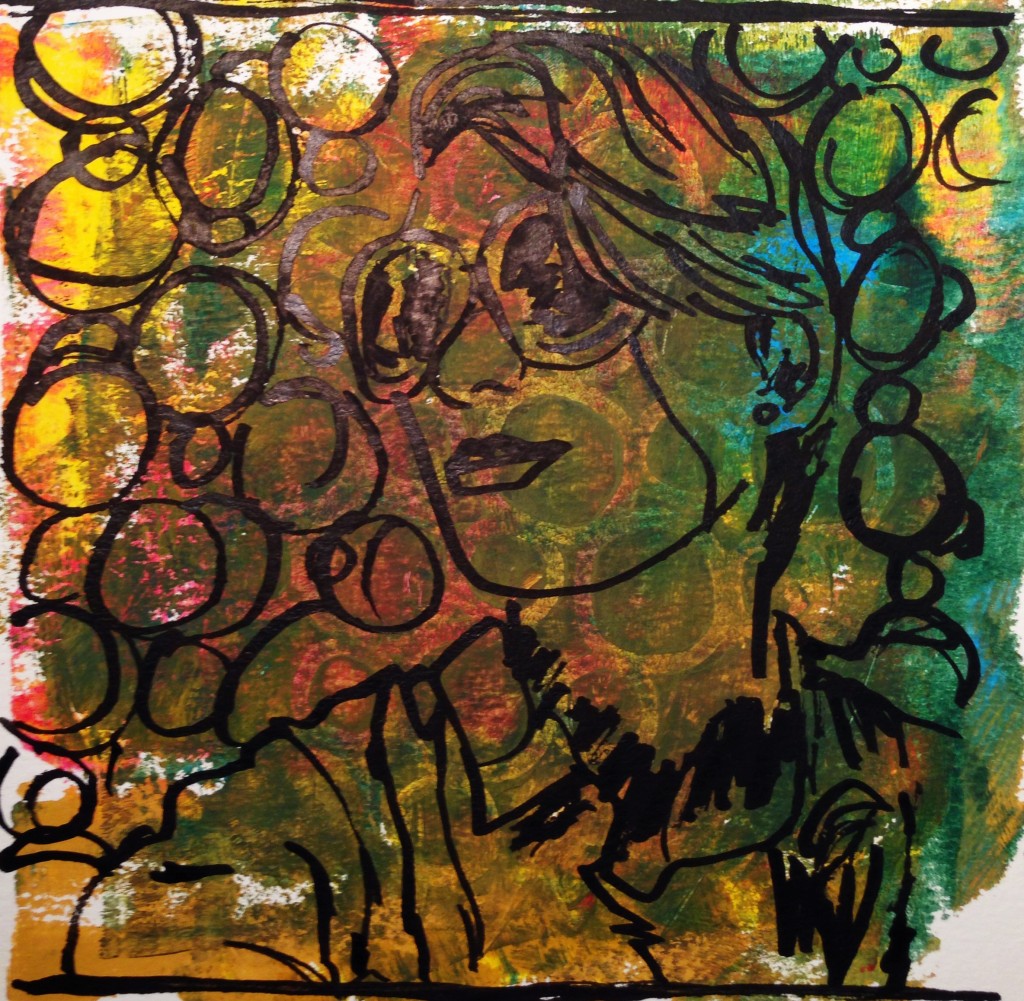
Day 8 of my 30 paintings in 30 days challenge. I'm using sketches i created from Instagram photos on my iPhone I did as part of a 100 day project and turing 30 of them into paintings. User: @feliciaday

Original Instagram photo:

Day8_instagram


100 Day iPhone Sketch:

day8_sketch


30 in 30 day painting:

Day8


Acrylic & Ink. 8 x 8 on 140 lb. watercolor paper.

30 in 30: Day Seven

Day 7 of my 30 paintings in 30 days challenge. I'm using sketches i created from Instagram photos on my iPhone I did as part of a 100 day project and turing 30 of them into paintings. User: @mel_mercado

Original Instagram photo:

Day7@mel_mercado

100 Day iPhone Sketch:

Day7_sketch

30 in 30 day painting:

day7

Watercolor & Ink. 8 x 8 on 140 lb. watercolor paper.

30 in 30: Day Six

Day 6 of my 30 paintings in 30 days challenge. I'm using sketches i created from Instagram photos on my iPhone I did as part of a 100 day project and turing 30 of them into paintings. User: @brookefraser

Original Instagram photo:

Day6@brookefraser


100 Day iPhone Sketch:

Day6_sketch30 in 30 day painting:

@brooke Watercolor & Ink. 8 x 8 on 140 lb. watercolor paper.

30 in 30: Day Five

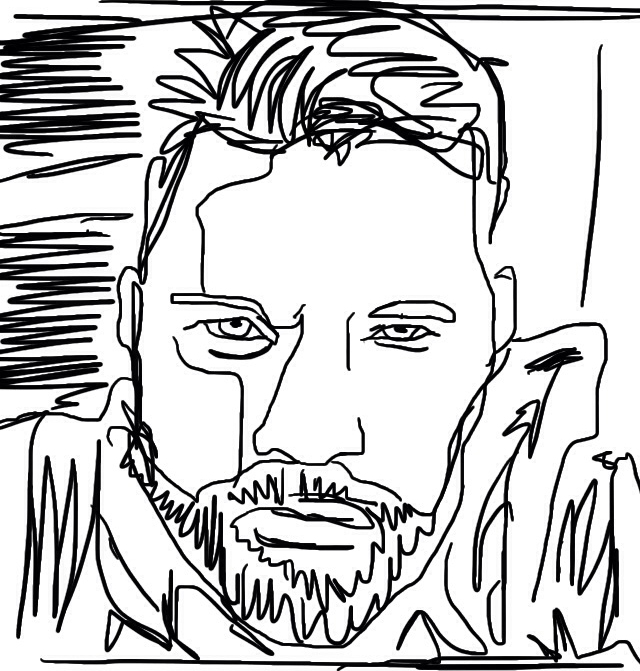
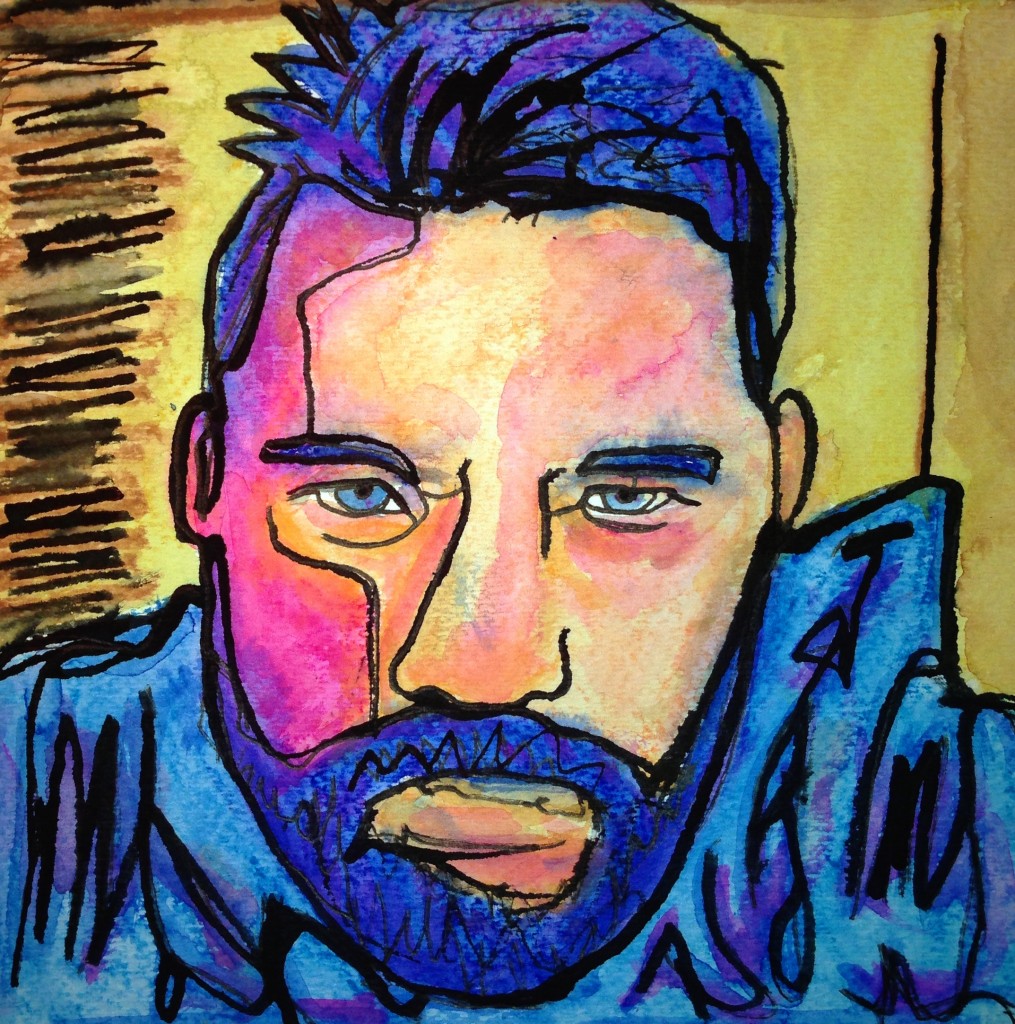
Day 5 of my 30 paintings in 30 days challenge. I'm using sketches i created from Instagram photos on my iPhone I did as part of a 100 day project and turing 30 of them into paintings. User: @wesbrawner

Original Instagram photo:

Day5@wesbrawner

100 Day iPhone Sketch:

Day5_sketch

30 in 30 day painting:

Day5_Wesb

Watercolor, Watercolor Crayon & Ink. 8 x 8 on 140 lb. watercolor paper.

30 in 30: Day Four

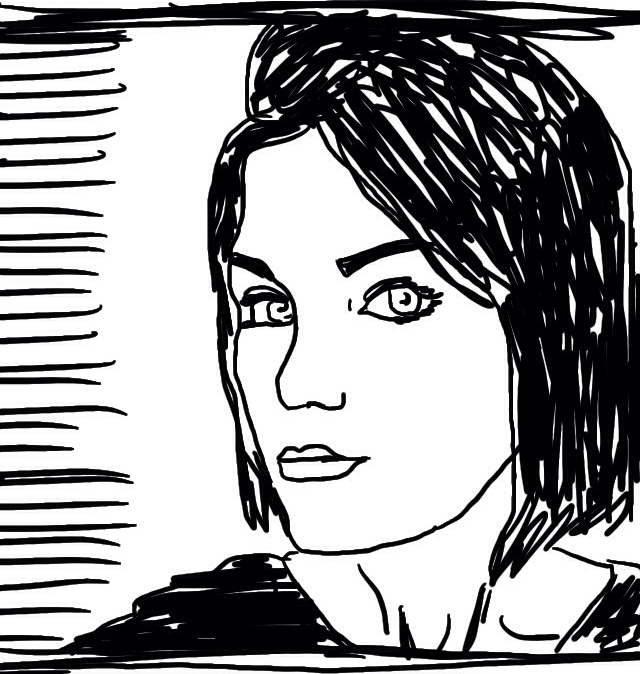
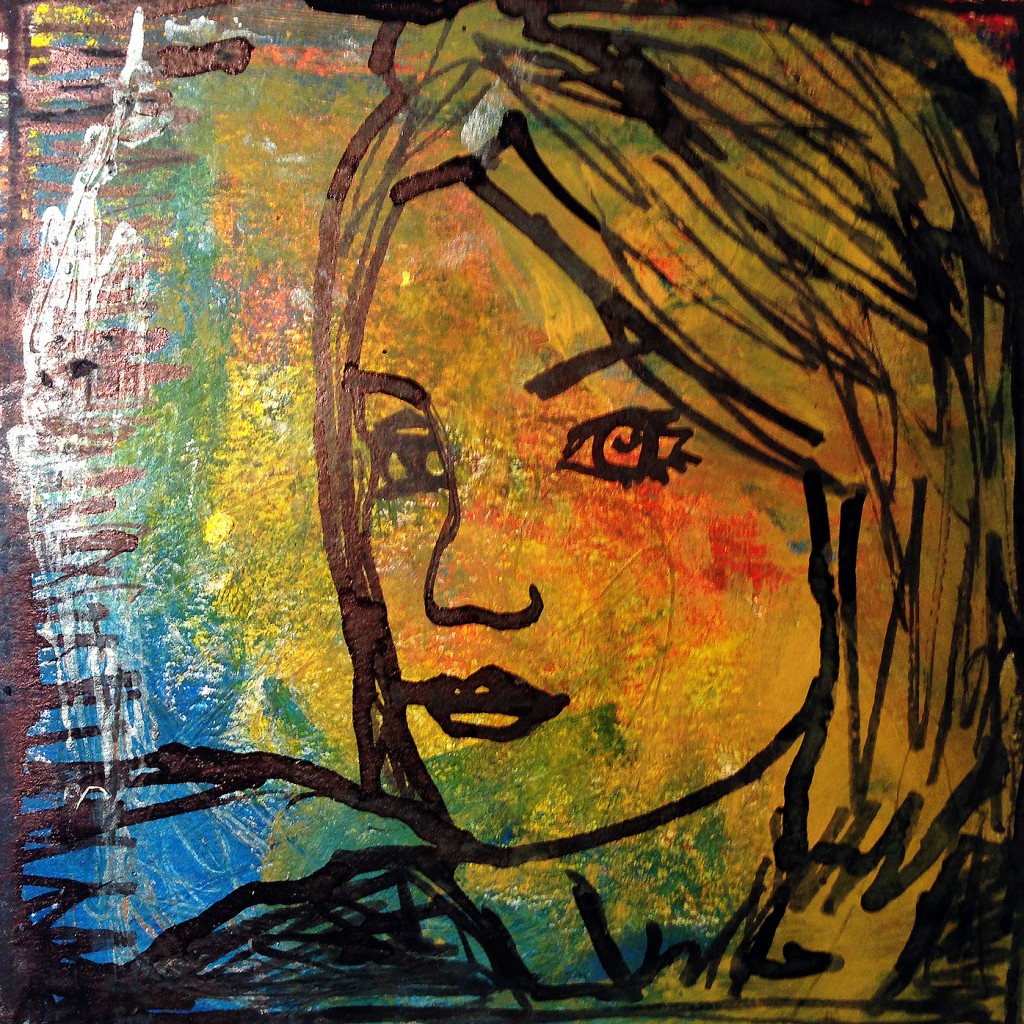
Day four of my 30 paintings in 30 days challenge. I'm using sketches i created from Instagram photos on my iPhone I did as part of a 100 day project and turing 30 of them into paintings. User: @northern_wind

Original Instagram photo:

Day4@Northern_Wind


100 Day iPhone Sketch:

Day4_sketch

30 in 30 day painting:

Day4_Northern_wind

Acrylic, Silver Metallic Acrylic & Ink. 8 x 8 on 140 lb. watercolor paper.

30 in 30: Day Three

Day three of my 30 paintings in 30 days challenge. I'm using sketches i created from Instagram photos on my iPhone I did as part of a 100 day project and turing 30 of them into paintings. User: @Sproctor

Original Instagram photo:

Day3@sproctor


100 Day iPhone Sketch:

Day3_skecth

30 in 30 day painting:

Day3


Acrylic, Gouache & Ink. 8 x 8 on 140 lb. watercolor paper.

30 Paintings in 30 Days Challenge

30 in 30 reference I'm about to embark upon a 30 day painting journey taking on the 30 paintings in 30 days challenge presented by Leslie Saeta. Somewhere around 750 other artists are doing the same and we will be posting our work daily here.

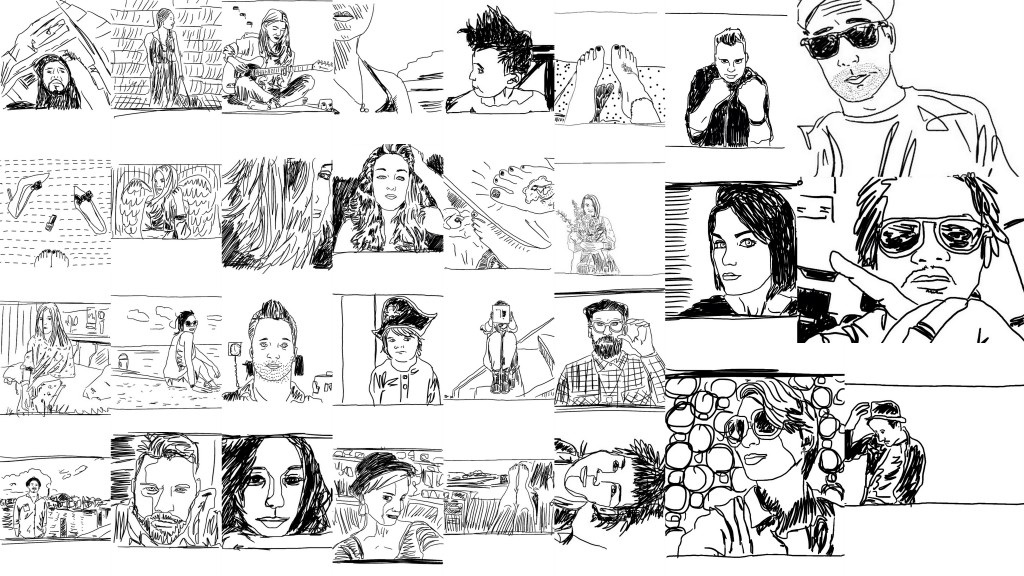
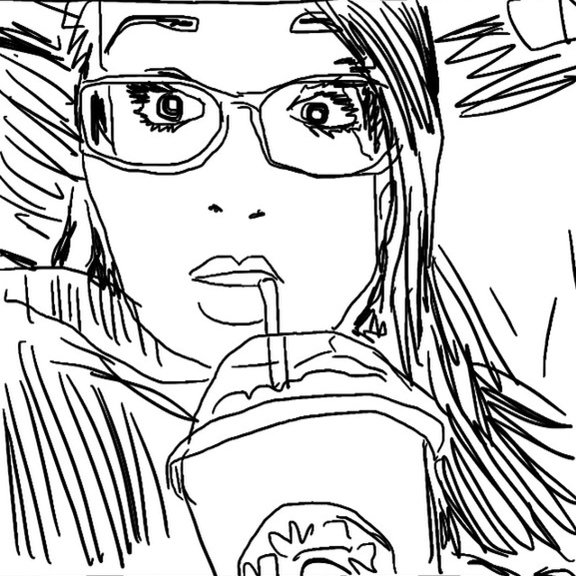
For my theme, I'm reaching back to my 100 day project from a few months ago where I selected a daily photo from my Instagram feed and did a  sketch on my iPhone. This time I'm selecting 30 out of the 100 and turning those into paintings. This should be an interesting challenge. I plan on posting on Instagram and tagging the original user again inviting them into the process again!

It will look a little something like this:

Original Instagram photo:

photo

100 Day iPhone sketch:

photo 1

30 in 30 days painting:

photo 2

If you would like to join in the fun, it's not too late!

When Art Emerges

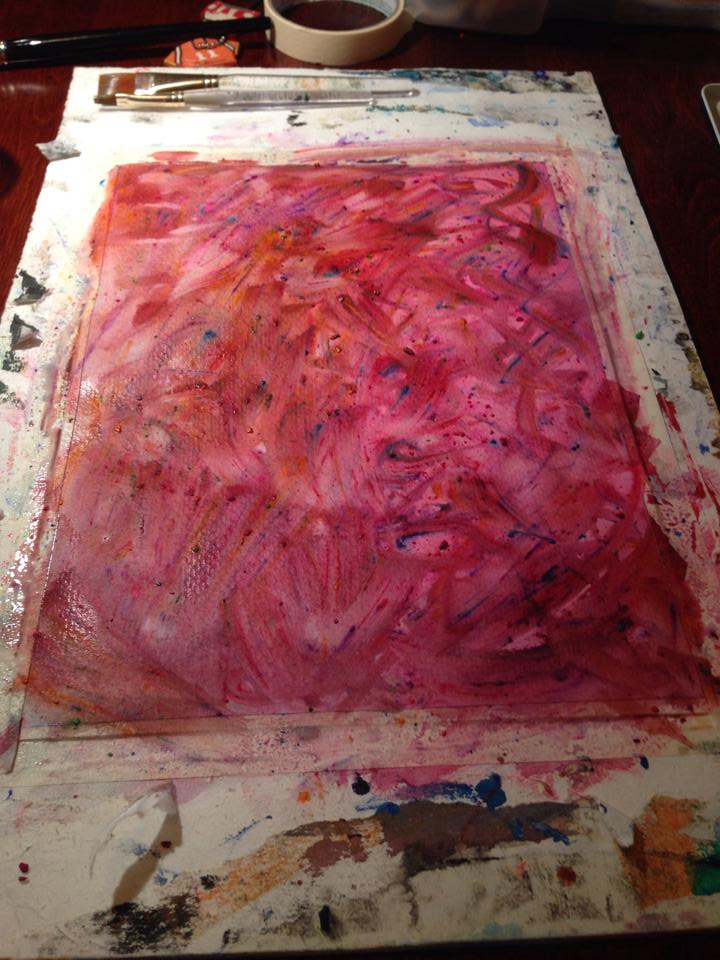
10527425_10152357478945958_3451412962458534482_n One day a few weeks ago I decided I wanted to create something new, but I wasn't sure what. I started with just throwing down some watercolors, then took an X-acto knife to make shavings from my watercolor crayons. I spread these shaving out randomly on top of the previous (dried) watercolor. Then I grabbed a spray water bottle and sprayed around on the shavings until they started to dissolve a bit. I let that dry and washed over again with some more watercolors.

10513344_10152357478975958_181935072558160412_n

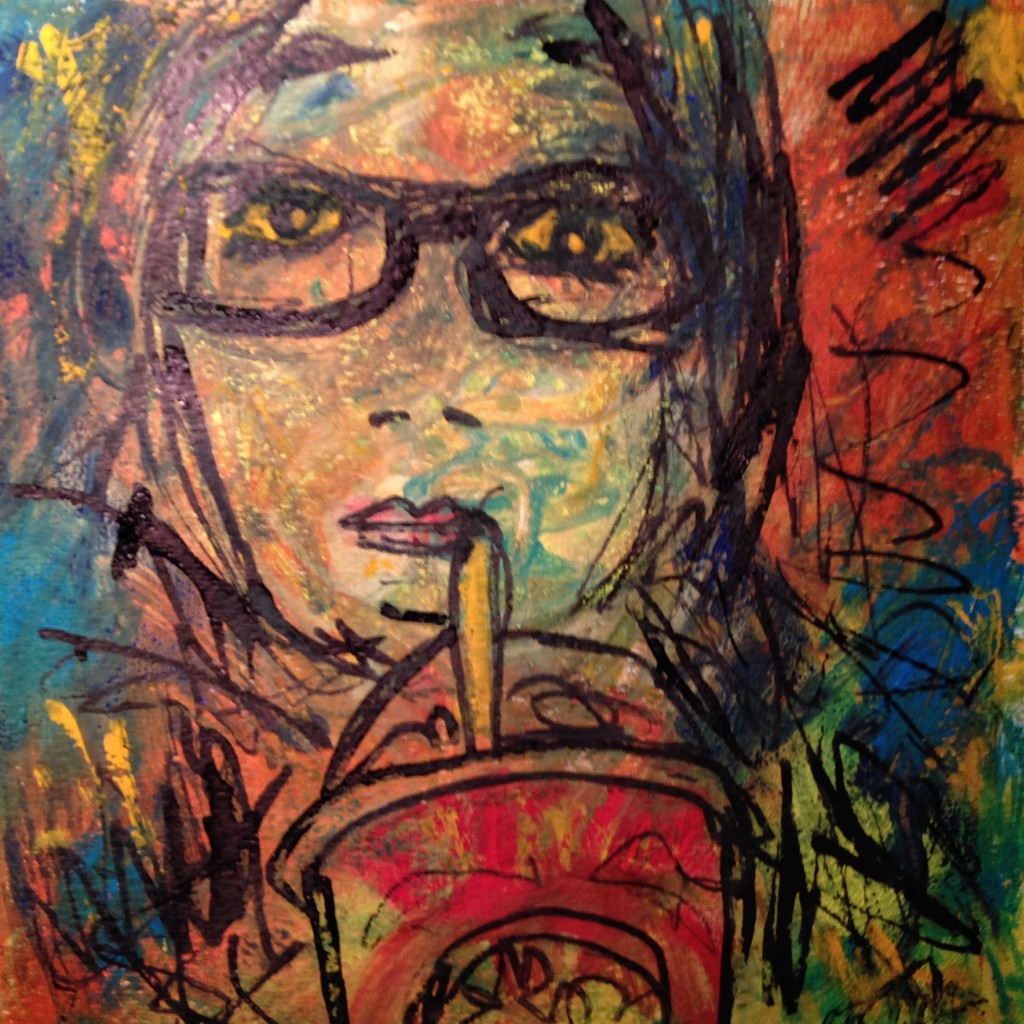
At this point I still wasn't sure what this work would become. I knew I had created a base to work off, but that was all. As I sat pondering, I felt a need to express something that would speak about a current social issue. Having been on a trip to Nicaragua this May to help bring clean water to a village, I decided that was what this piece was about. I found some reference photos to use as inspiration, and set to drawing with black Take-Sumi ink using a bamboo pen. Once the ink dried, I carefully went back in adding some yellow gouache.

Cup1

The result was something that spoke to a lot of people, about an important issue. "A Cup of Water for the Least of These." I recently sold the original as well as some prints. Sometimes, you just need to follow inspiration where it takes you.  Sometimes I plan out what I'd like to do, but other times I like to just "play" and see what comes. There is tremendous freedom in that!

If you're interested in donating money to help provide get clean water visit here.
If you'd like to purchase a print of this or other work of mine visit my society6 shop!


Bill Murray Won Me First Place

10408698_10152252689785958_5662901816792791675_n Last weekend I entered the Hunterdon Library Outdoor Art Show. It was my first time in a show like this, and to be honest I wasn't too sure what to expect. They provided me with a 4 x 8 piece of snow fence to display my work, some for sale, some not and two pieces that I was to enter into the show for judging.

There was so much great work, and a variety too. The judges had a hard time deciding. Ultimately, my "Billiam Murray" took home First Place prize in the Mixed Media category! Hopefully I did Bill proud. ;)

10366187_10152253784245958_2006726182441351917_n

10405405_10152254428515958_7119098481720412482_n

10414416_10152254428570958_8284173876570420810_n


30 Days of Selfies

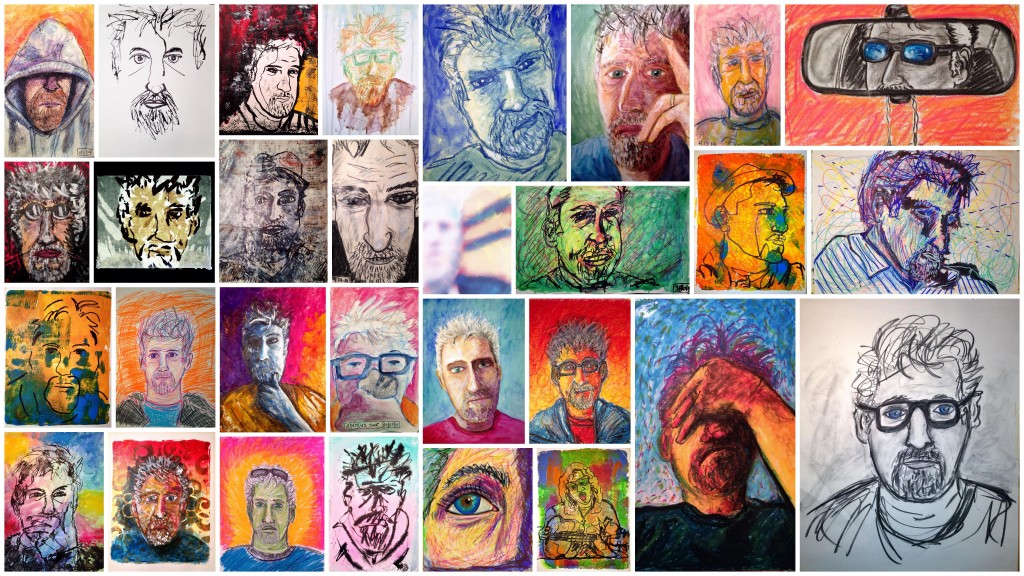
30 days of selfies I know it's common for artists to do self-portraits, but to be honest I have only done a few in my life until now. I'm not someone who has to look in a mirror whenever i'm near one. So this exercise was my most difficult yet as far as sticking with the subject matter. I struggled with thinking about how I could represent myself in more ways than just head on. There were times when I wanted to abandon this project, but I pressed on knowing that the only way to grow sometimes is to push.

Overall, there are a few that I'm pleased with. The rest were playing and tinkering. I did expand beyond my usual watercolors as of late, so that felt fun. Well, off to think up my next project.

Want to see the individual pieces? Check them out here.
 

Confession of Failed Art

Fail This past week I relearned a lesson in not ignoring the "small" stuff. You know, the stuff that you do all the time so you tend to not give it as much attention or care. I set out to do a watercolor painting based on an interesting photo I found on the internet. I took this to my weekly class, as I thought it would be good to have some guidance and support in rendering the extreme shadows (just in case).

My issue became that I just plain rushed the drawing part because I was so concerned about getting the extreme dark and shadows right. I didn't take the proper time to set myself up for success in this project. I rushed and was lazy with LOOKING at my source properly. As a result, when I started painting, things were just "off". No matter how hard I tried to "fix" areas, there was no turing back at this point. I could either commit to finish it as best I could, or scrap it and start over. I didn't have the motivation to start over, and although I wasn't pleased with my results, I pushed myself to finish. When I did, I was missing that satisfied feeling. I felt rather depressed and left myself open to those critical voices that are always looking for an opportunity to tell you that you aren't any good (and here was proof).

But instead of wallowing in my dissatisfaction, I determined to do as I have everyday in the past 10 months - to post it publicly as part of my year of daily drawings/paintings. I reminded myself that tomorrow was another day to create fresh. And I didn't allow myself to "throw the baby out with the bathwater". I asked myself questions: Why did it "fail"? What made it a lesser piece of art? How could I learn from this rather than just feel bad? Sometimes you need those experiences to learn and grow as much as the momentum of doing great work. I know you're wondering what painting I'm referring to, so to satisfy your curiosity look here.

How do you handle your moments of "failure" and dissatisfaction with your creations? Maybe there's a learning opportunity there for you too.


Scribbling Star Wars

484810_10151932732645958_316841998_n I've been experimenting with a scribble style lately, with Star Wars as my subject matter. This experiment is forcing (sorry for the pun) to keep things fast & loose. It seems the more "successful" ones are where I push myself to just keep moving. Scribble more. Stop & adjust less. My line is a continuous line drawing (you don't pick the pen up from the page at all) using various black inks. Most of the color is watercolor paint, watercolor crayons or pencils. Some spots are non-diluted by water. Every so often I hit a spot with a dark blue china marker. And then I add some white gouache and black watercolor paint. This helps to keep things from breaking down completely, keeping to some highlight & shadow values. It helps give the subjects some form.

25cc8f0c764911e3b4fb121aff19a5a5_81ba00cf6774911e3a10e12a33c4cbee0_8df83cec0780f11e38b4f1280e484f25a_88819206678d911e3928a0e05f3709127_8

To be honest, the first one (Yoda) was the hardest. I wasn't feeling loose. I kept worrying about if things looked "right". It's hard to keep yourself moving. That perfectionist voice doesn't like that. So this is another way to beat him. Keep it fast & loose.


Today I did my Skywalker scribble. I chose this scene, rather than a straight up portrait, because this is my favorite scene from Star Wars: A New Hope. Luke's world has been rocked. His aunt & uncle are dead. He's at a crossroads. He must decide to stay behind and try to pick up the pieces or move ahead into an unknown (and potentially) dangerous adventure. This scene always speaks to me of hope, longing and a sense of destiny. Powerful themes in my own life.

Art Process: A Pear of Grapes

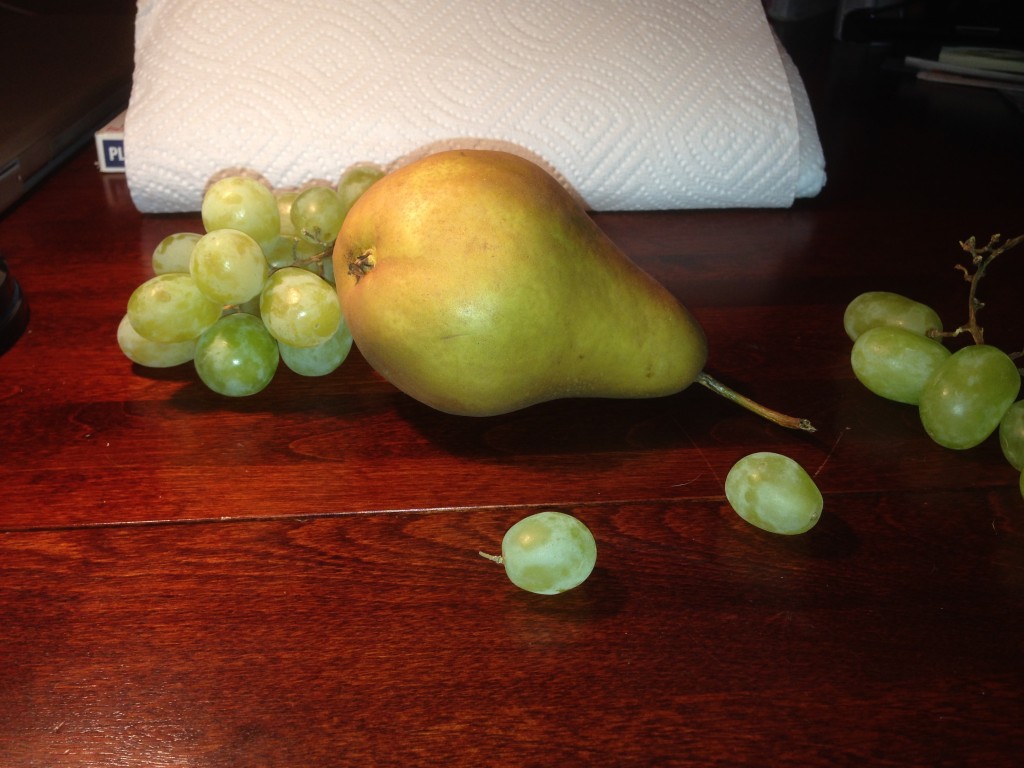
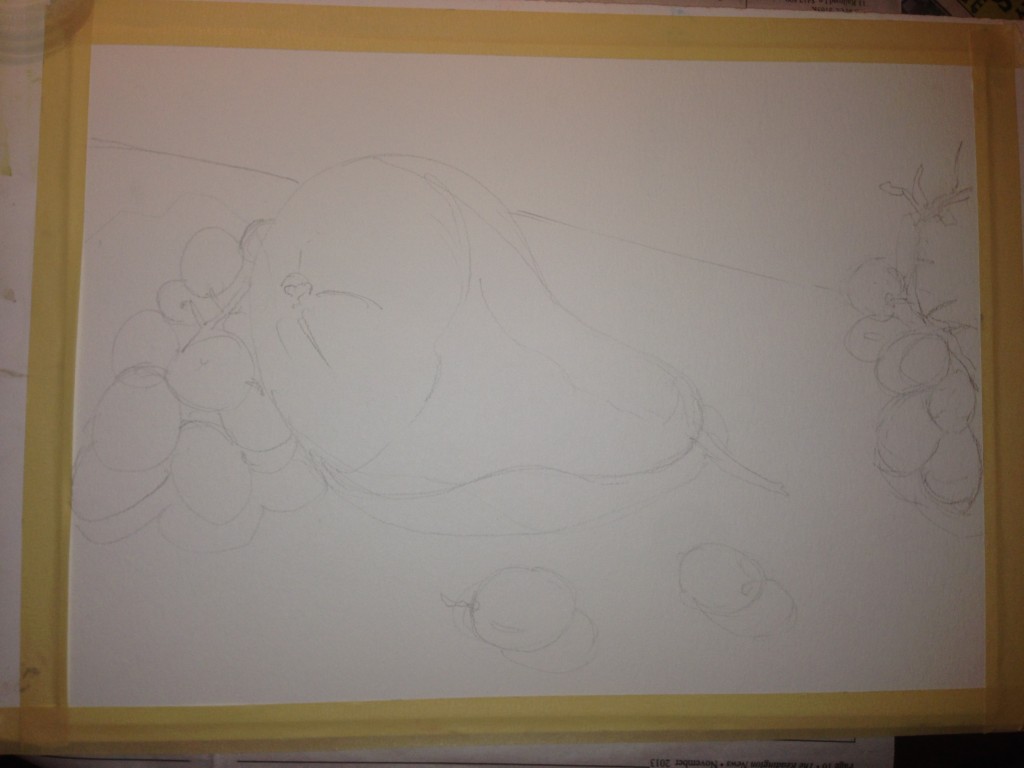
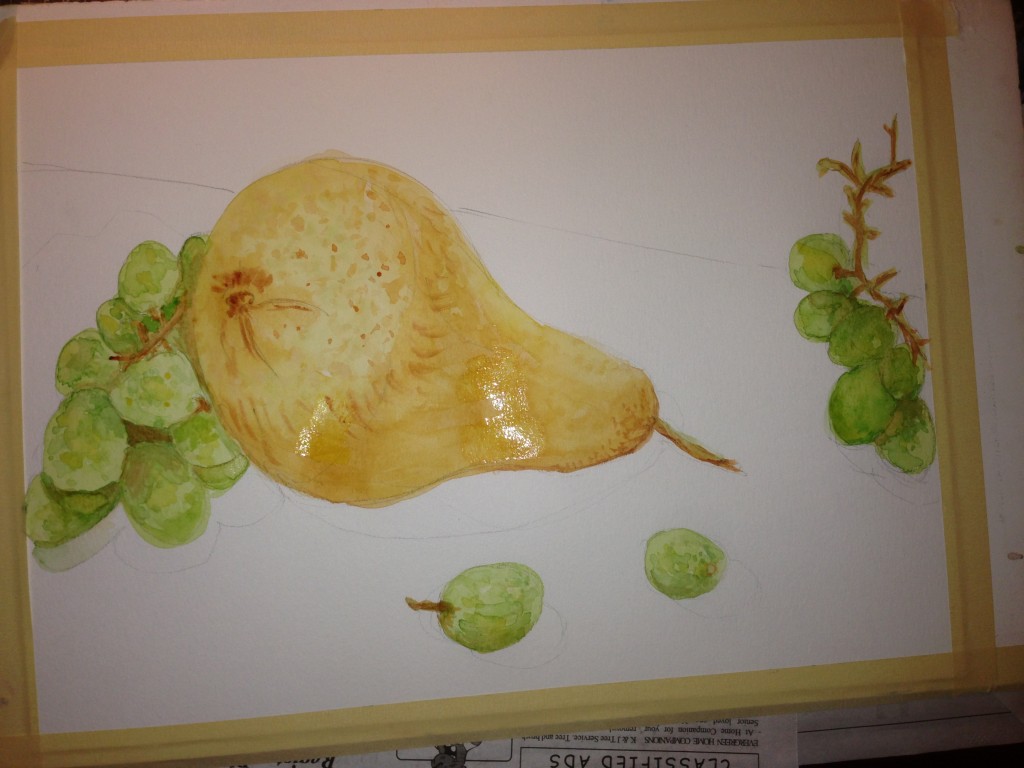
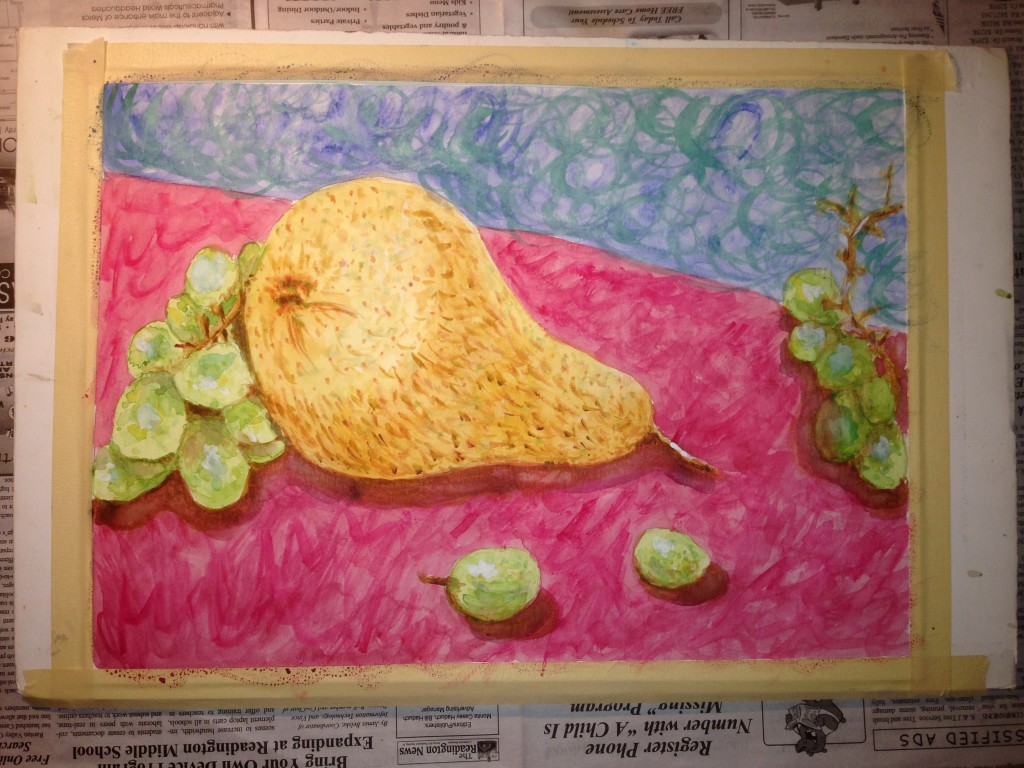
Did you ever look at a piece of art and wonder how it got to the finished piece before you? It's a rare thing to see art as it goes through it's various stages. Well, today I'm going to let you in on my process for this watercolor still life I've called "A Pear of Grapes". First, I set up some fruit and lighting (for some drama) to my liking. I knew I wanted a few different areas to avoid everything all clumped in the same place.

Photo Nov 03, 3 25 32 PM

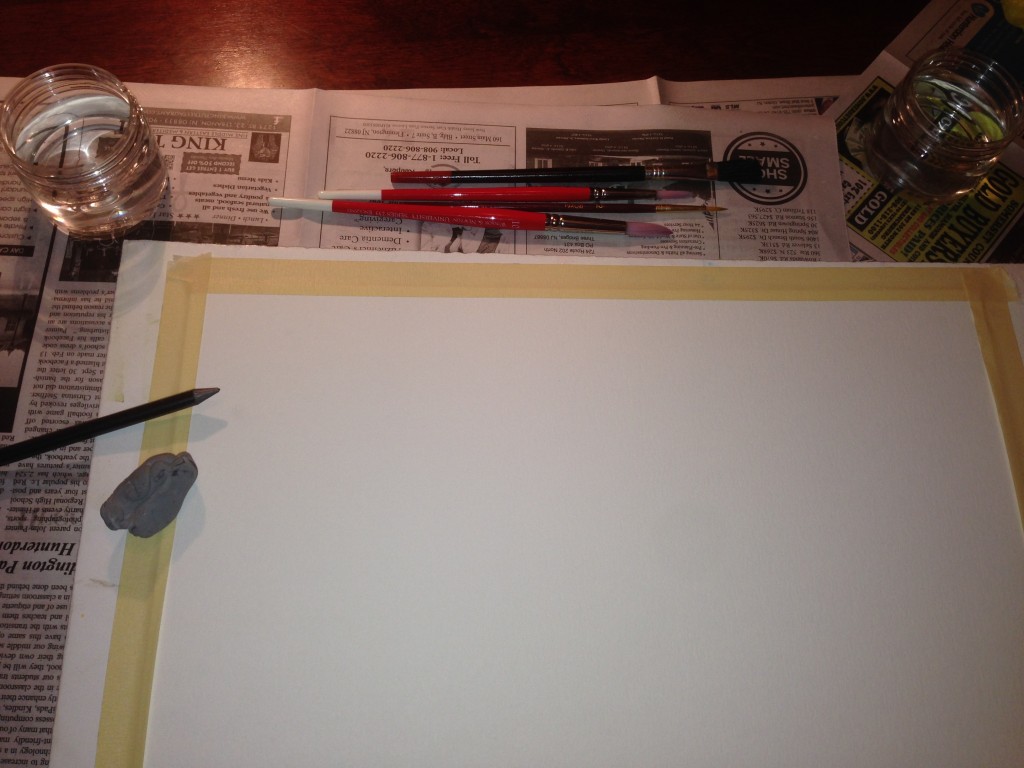
Next, I taped down a piece of Watercolor paper (Strathmore 140 lb) to a foam board. I'm using Winsor & Newton brushes and watercolor paints at the moment. Also pictured in a kneaded eraser, an HB Graphite pencil and two plastic jars for water.

Photo Nov 03, 3 19 29 PM

I started off with a simple pencil sketch to block out my composition.

Photo Nov 03, 3 25 49 PM

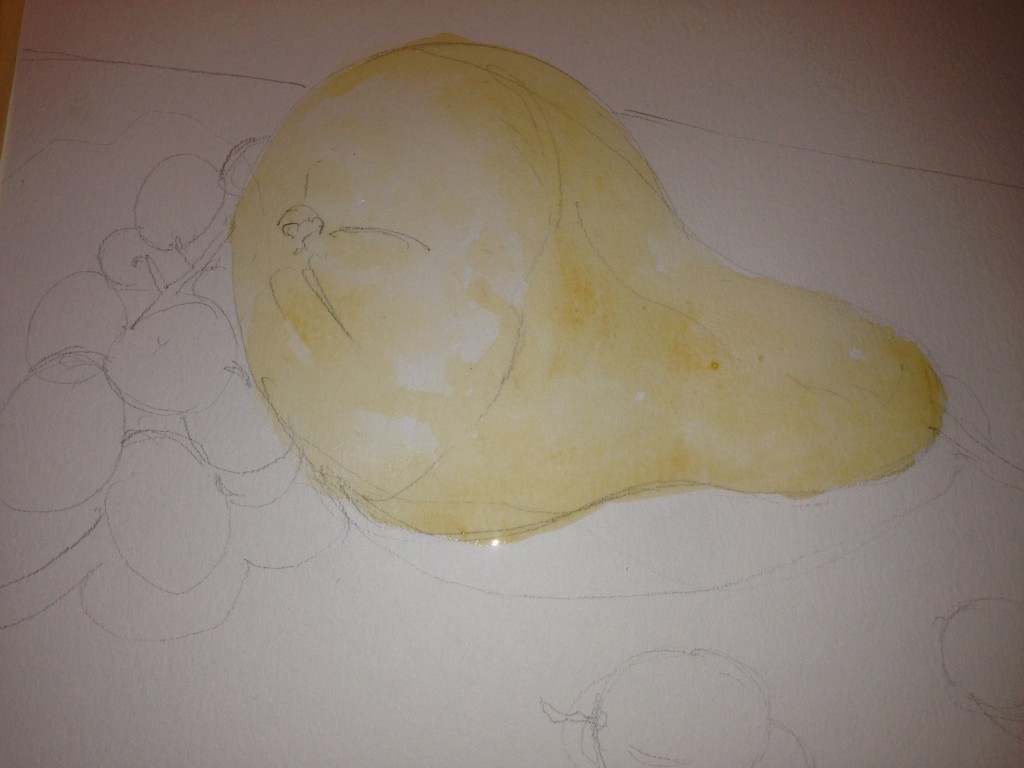
Starting with the lightest color, I lay down some wash of watercolor paint.

Photo Nov 03, 3 30 09 PM

From there, I move on to add more color and a bit of texture, still keeping things light.

Photo Nov 03, 3 44 06 PM

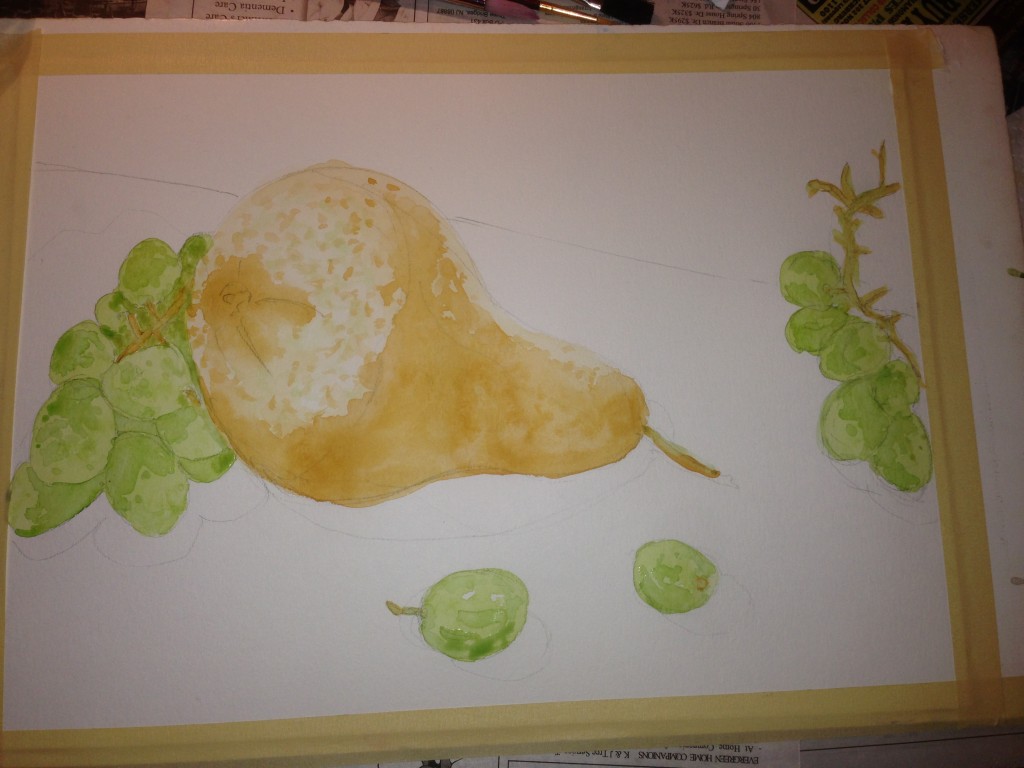
I keep layering to get things a bit darker, while still keeping some light areas.

Photo Nov 03, 3 55 00 PM

I work the main subject until I feel like I'm at a good place to switch things up (or waiting for an area to dry before working a bit more).

Photo Nov 03, 4 14 35 PM

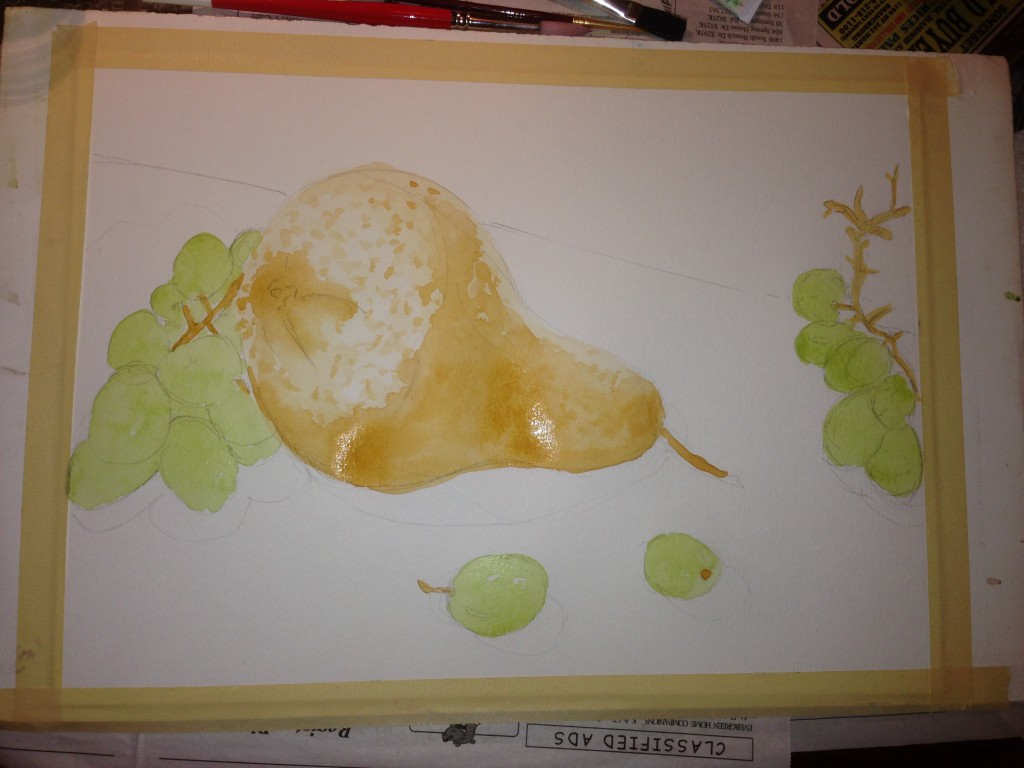
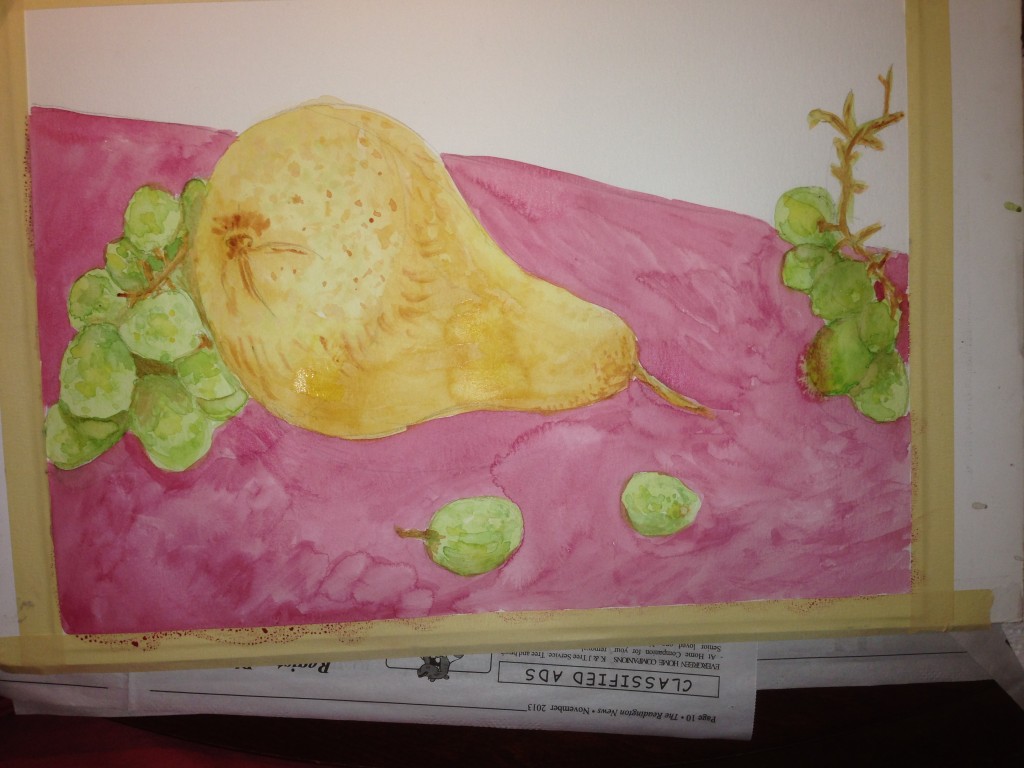
Now, I lay down some color to the foreground, knowing that I'm going to add more texture so I'm not concerned with getting my watercolor smooth.

Photo Nov 03, 4 22 47 PM

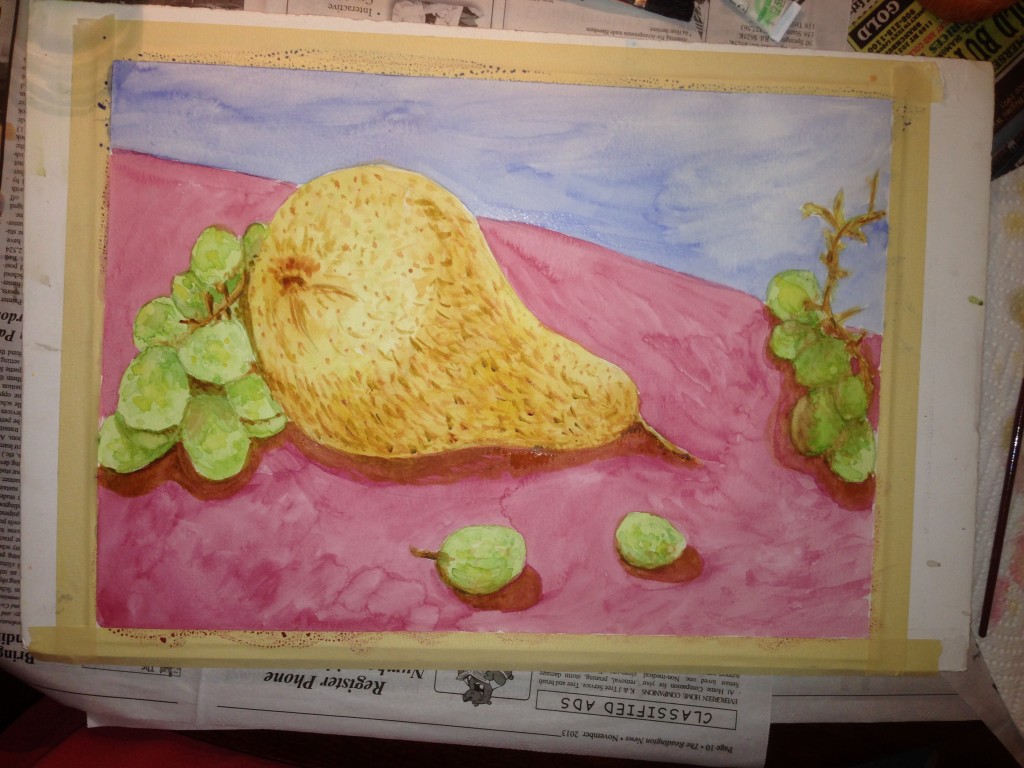
I do the same for the background, as well as now going back into my dry areas on the fruit to add more texture and lines. I've also added some darker shadows at this point

Photo Nov 03, 4 42 54 PM

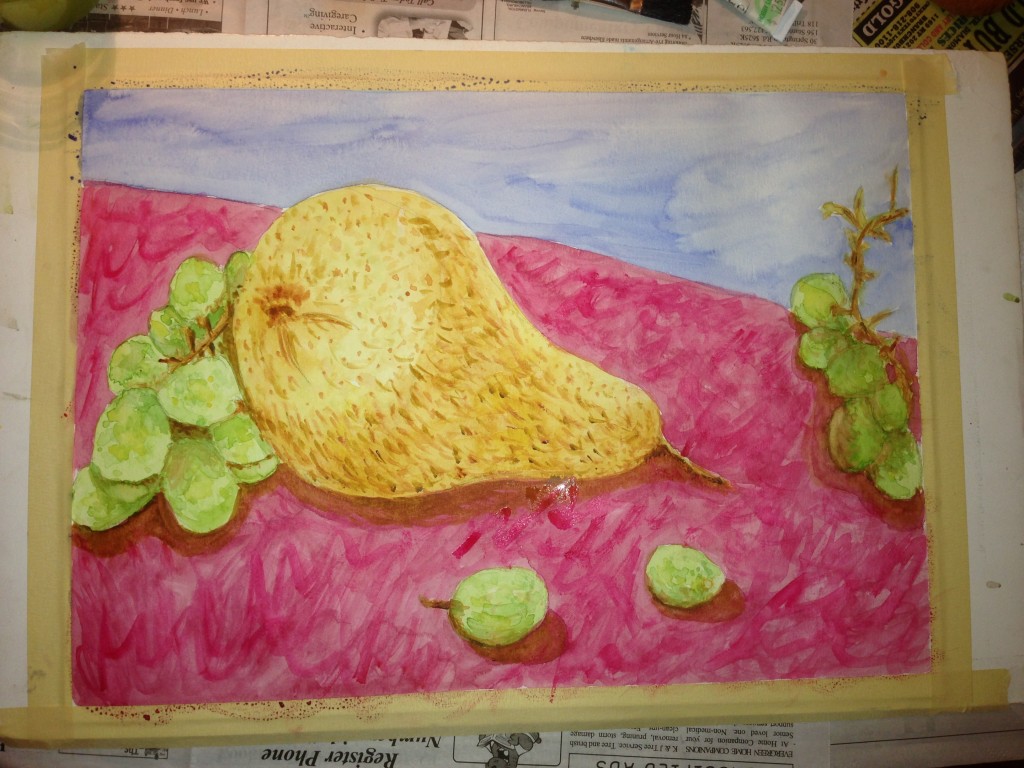
Now I apply the texture in the foreground area using a darker hue and more pigment of the watercolor paint.

Photo Nov 03, 4 46 05 PM

Then I add a little more texture to the background and foreground. And to put some finishing touches, I use a bit of white Gouache for some highlights.

Photo Nov 03, 5 15 30 PM

And there ya have it folks. Hope you enjoyed a little peek into my process!


How This Moth Took Flight: My Artist Process

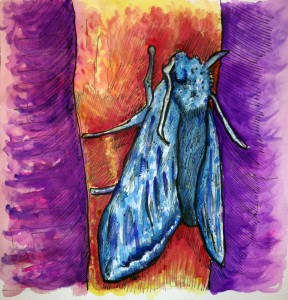
A couple of weeks ago I announced the winner of my contest. Jeannie Pauly (@rovingsprout on Instagram) was the lucky winner with her submission of her huge moth photo.  A perfect Autumn subject (and yes, kinda creepy). The original art will be en route to her this week! image

I figured I'd take this opportunity to not only show the final illustration that Jeannie will be receiving but also show a bit of my process. I know that as an artist I love to see other artist's process. So here we go:

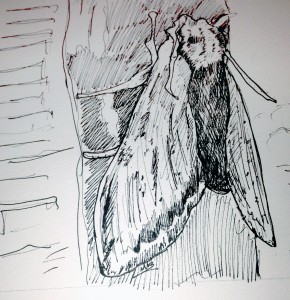
First, I go right to drawing out the moth and surrounding pole / background with my Staedler pens (black waterproof ink - 4 pen set sizes .1 .3 .5 .7). I start with a .3 in size and work my way up to a .7 where I want to add a little thicker lines and darker areas. I used to start with pencil, but found that I erased too much & was too noncommittal in my line. I switched it up after reading a book challenging me to go right for pen, as it helps you with more confident line. And it forces you to work with the line you've made, rather than to get stuck in constantly erasing & redrawing, never moving on to the rest of the process.

Photo Sep 29, 3 19 15 PM

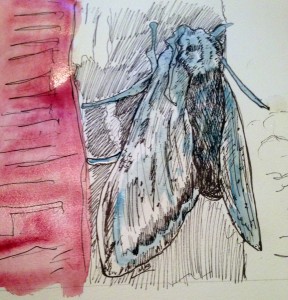
Then I lay down some watercolors - starting with lighter colors and hues. A little wash here and there. A happy little moth. For brushes, I primarily use water brushes like these. But on this one I also used a few watercolor brushes I have kicking around. Nothing special.
Photo Sep 29, 3 24 57 PM

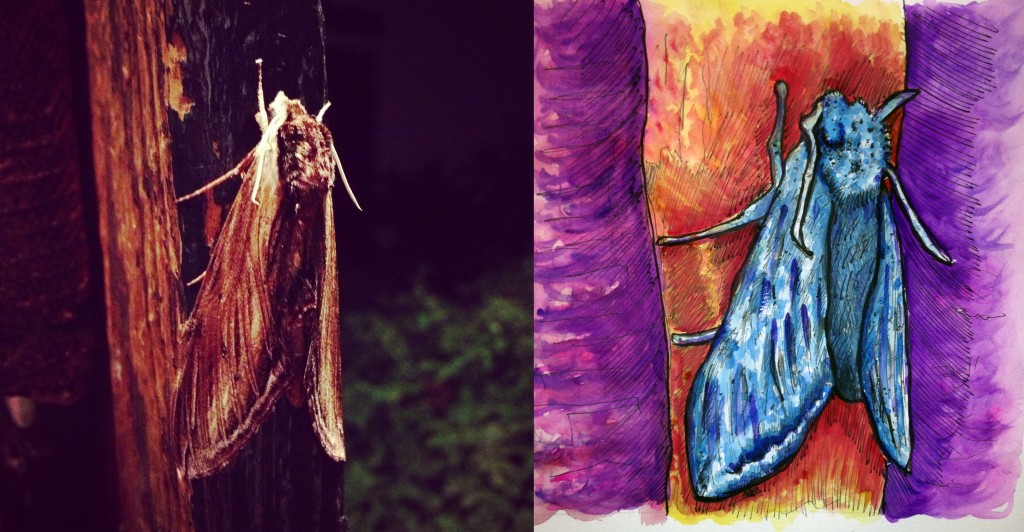
I build that up getting darker and darker, defining more of the shadows.  I have several sets of watercolors I use. It usually is more about selecting the right colors than sticking with a certain brand. I used a few different pan sets for this one. I tend to like colors that pop, and didn't want to keep the brown and almost monotone feel of the original photo.

Photo Sep 29, 3 38 53 PM

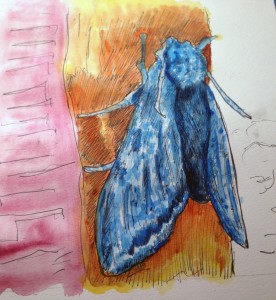
Then once the watercolors are dry, I'll go back in to a few spots to hit with a darker black Take-sumi ink (that isn't waterproof). I use my TWSBI pen for this finishing touches stage. And, voilà...

Photo Sep 29, 4 11 57 PM

And there you have it folks.  Here's the original and the final art! I give you "Moth-er, May I?"

FINAL_MOTH