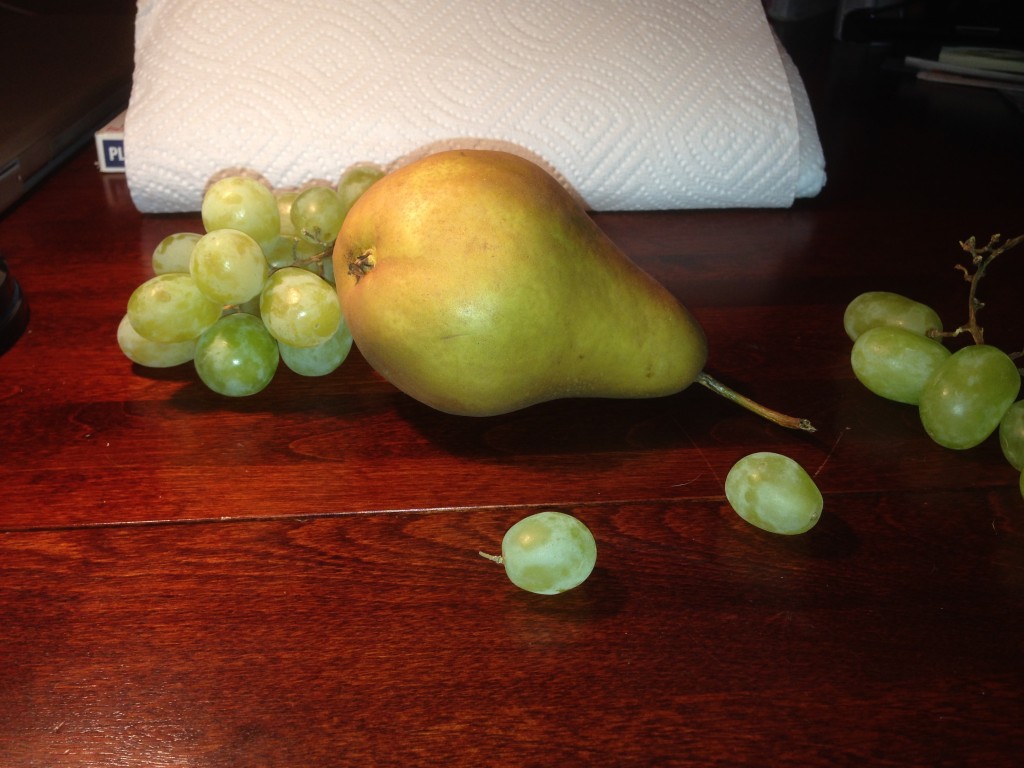
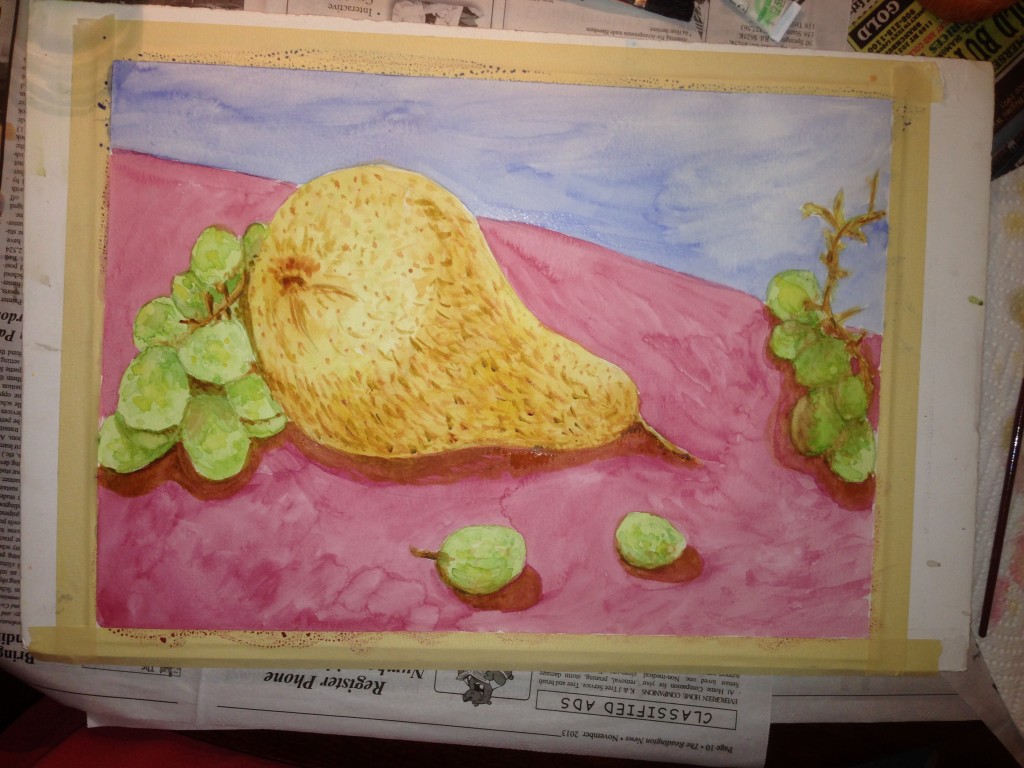
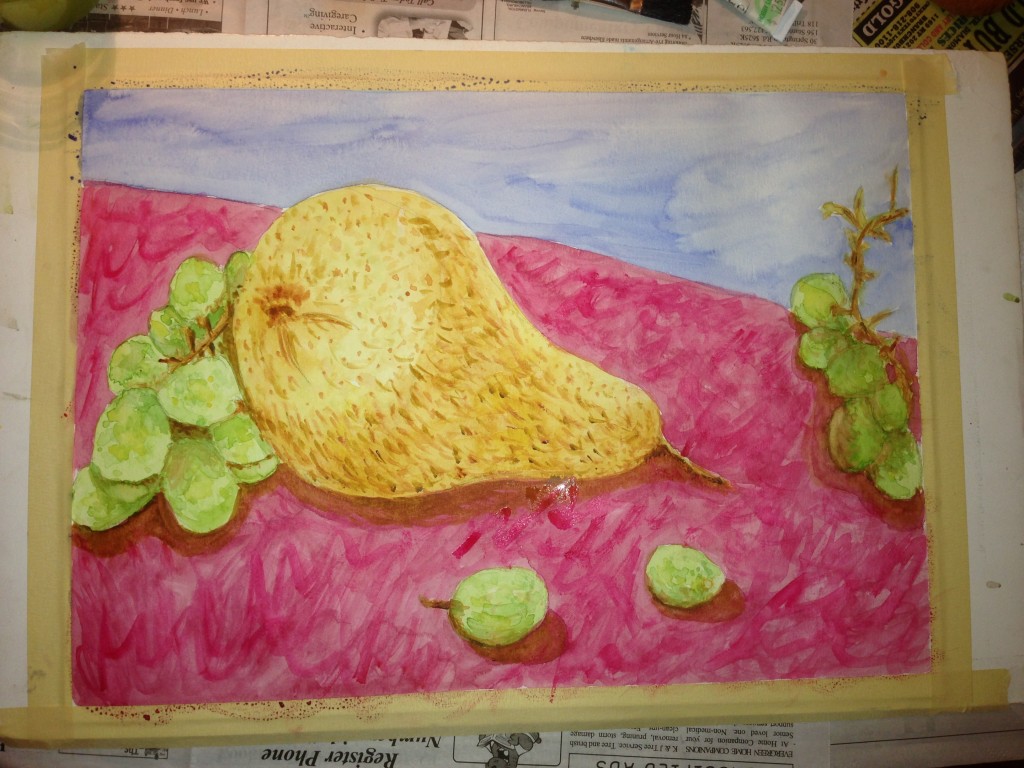
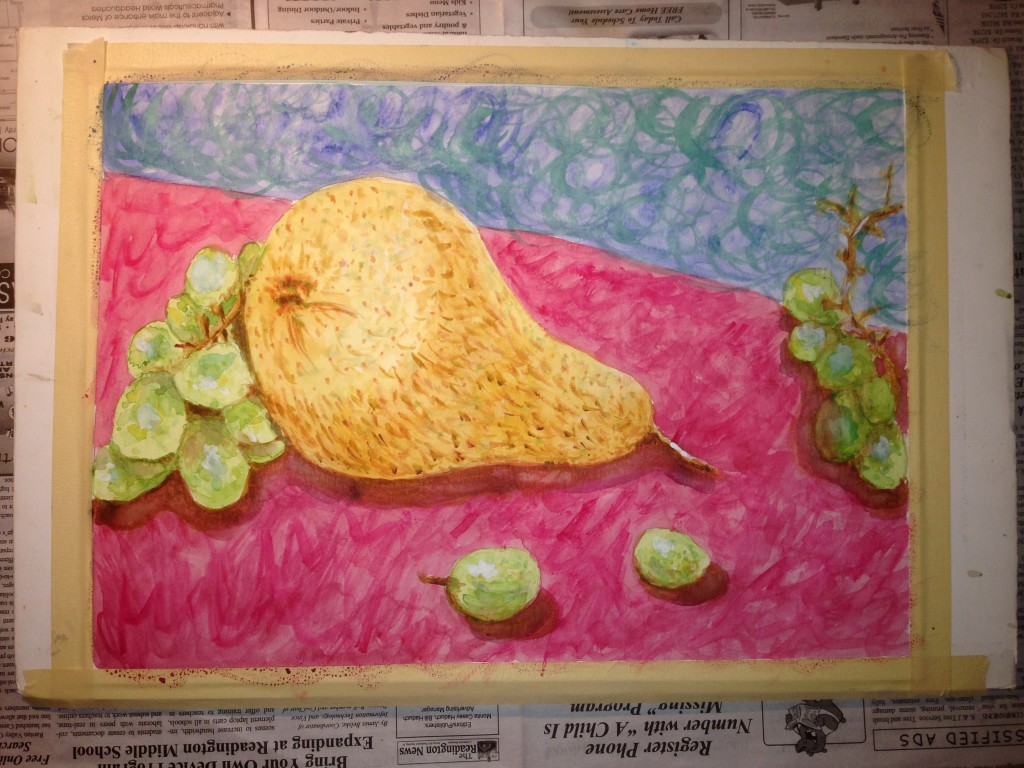
Did you ever look at a piece of art and wonder how it got to the finished piece before you? It's a rare thing to see art as it goes through it's various stages. Well, today I'm going to let you in on my process for this watercolor still life I've called "A Pear of Grapes". First, I set up some fruit and lighting (for some drama) to my liking. I knew I wanted a few different areas to avoid everything all clumped in the same place.
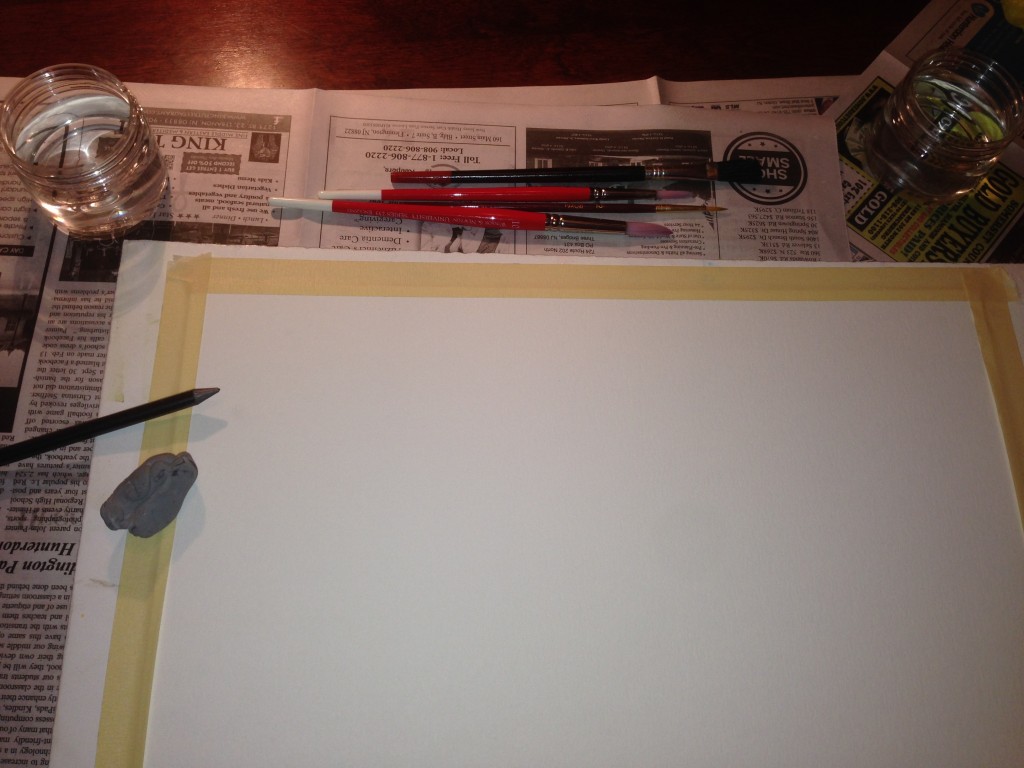
Next, I taped down a piece of Watercolor paper (Strathmore 140 lb) to a foam board. I'm using Winsor & Newton brushes and watercolor paints at the moment. Also pictured in a kneaded eraser, an HB Graphite pencil and two plastic jars for water.
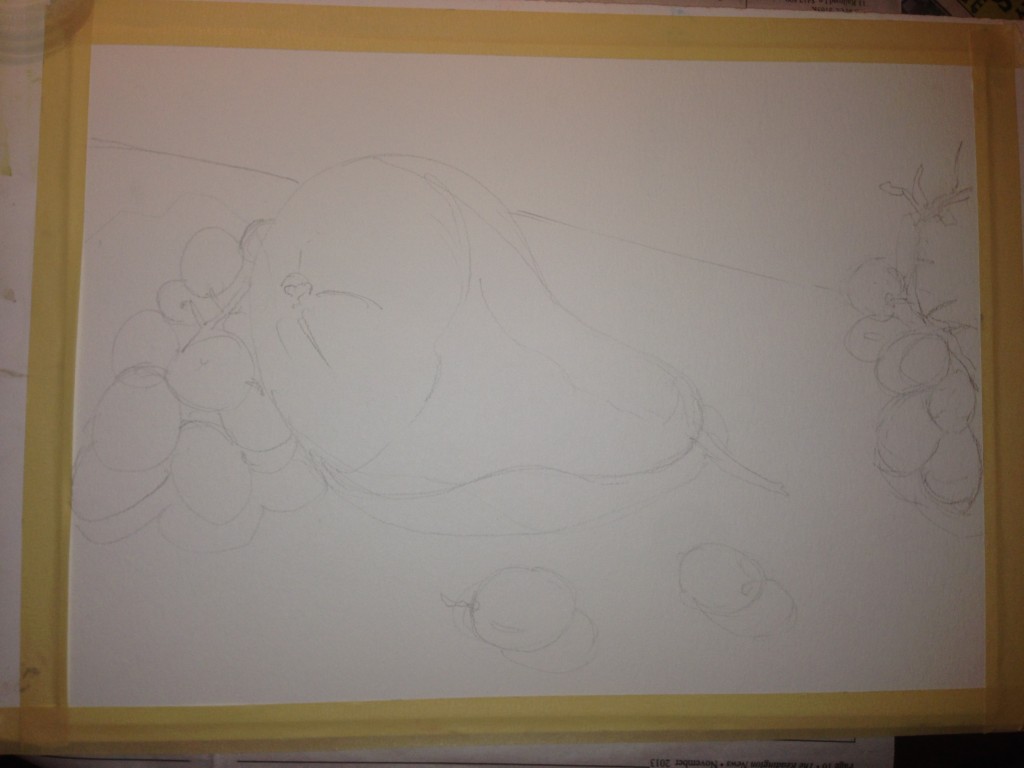
I started off with a simple pencil sketch to block out my composition.
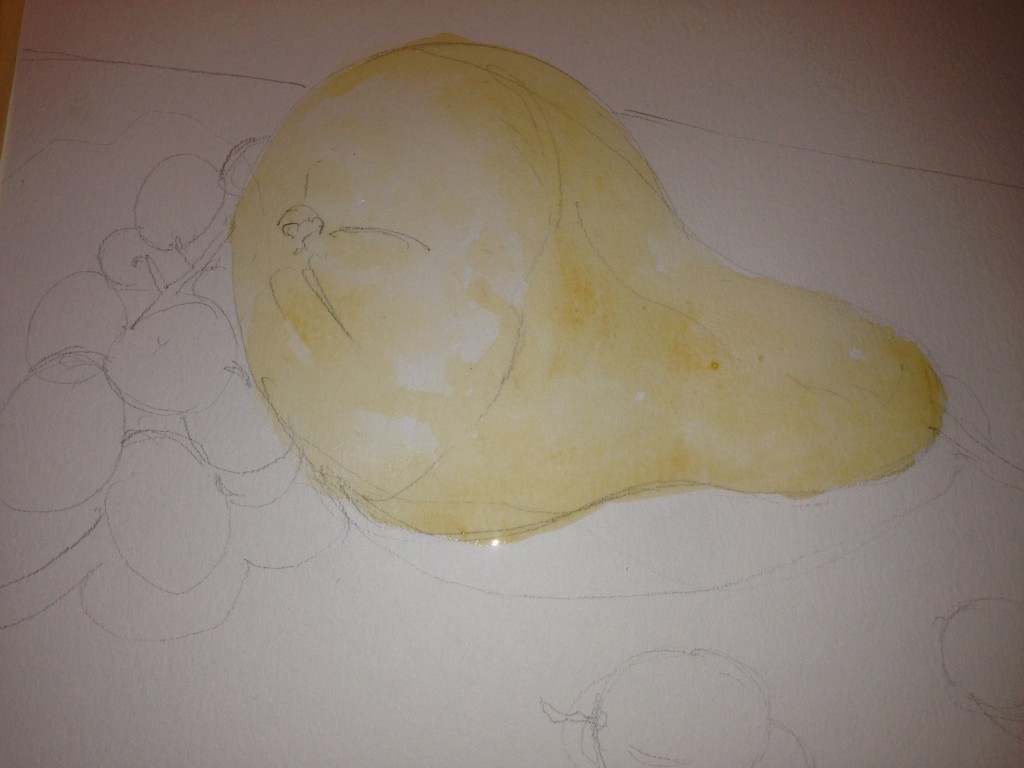
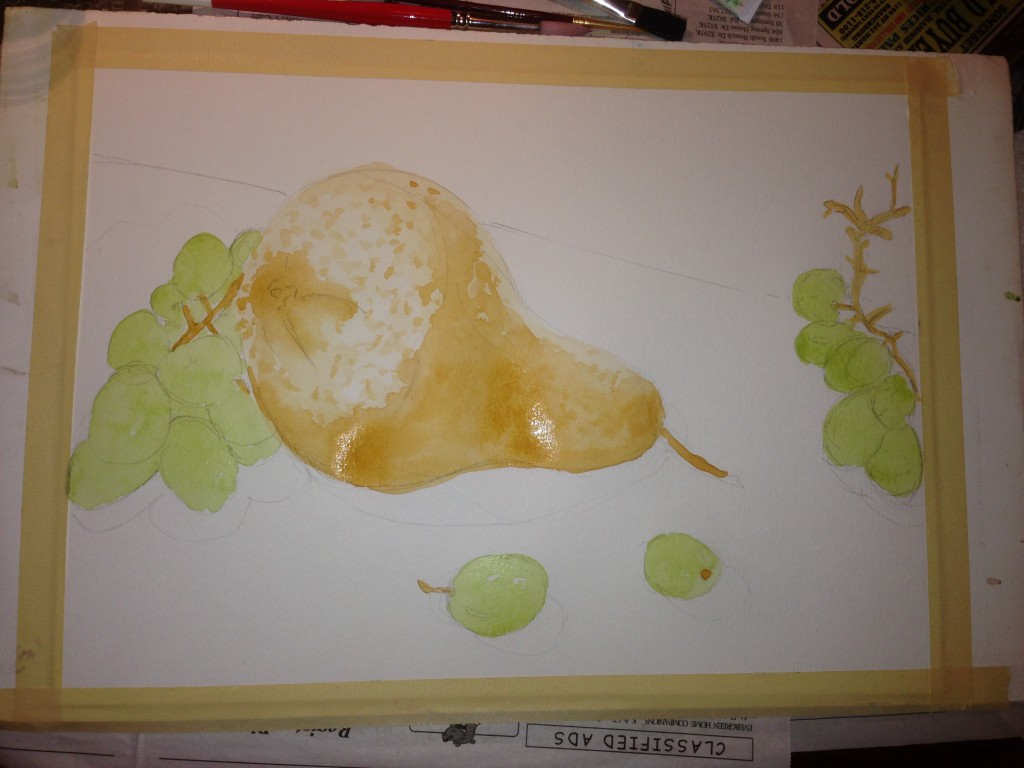
Starting with the lightest color, I lay down some wash of watercolor paint.
From there, I move on to add more color and a bit of texture, still keeping things light.
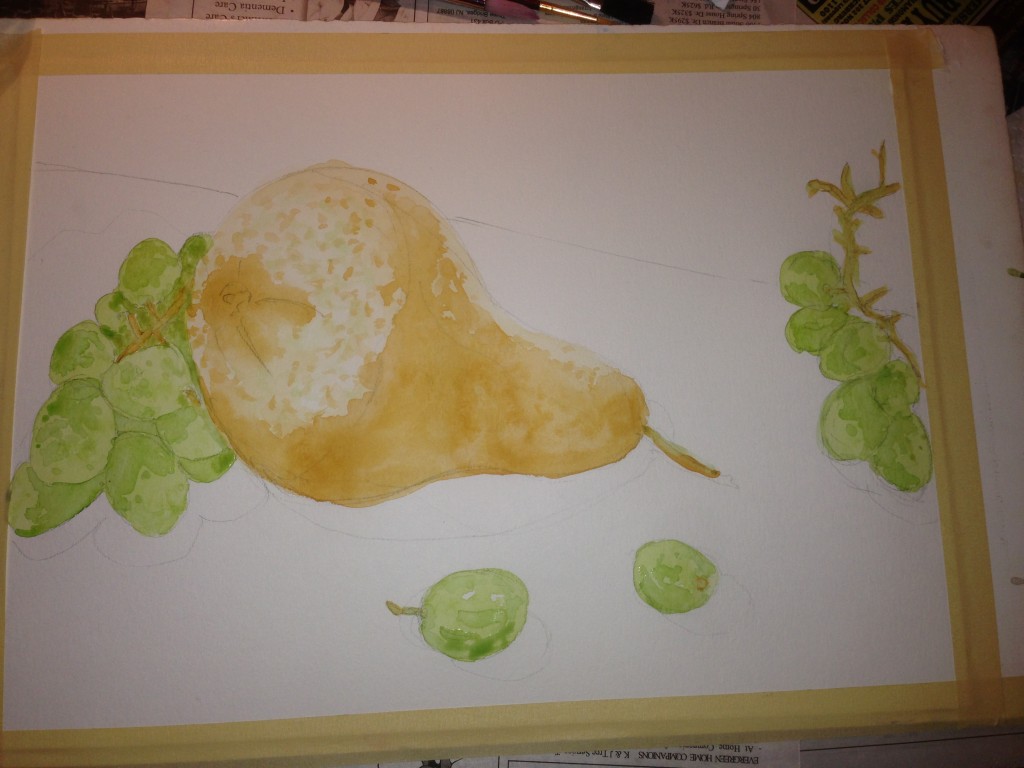
I keep layering to get things a bit darker, while still keeping some light areas.
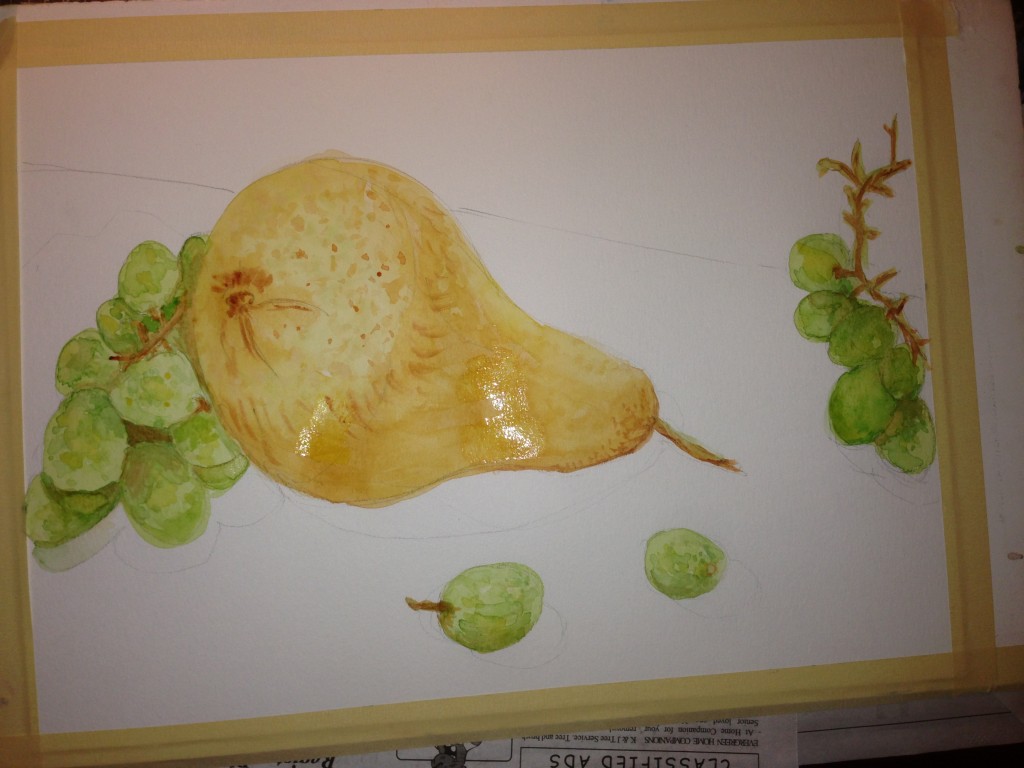
I work the main subject until I feel like I'm at a good place to switch things up (or waiting for an area to dry before working a bit more).
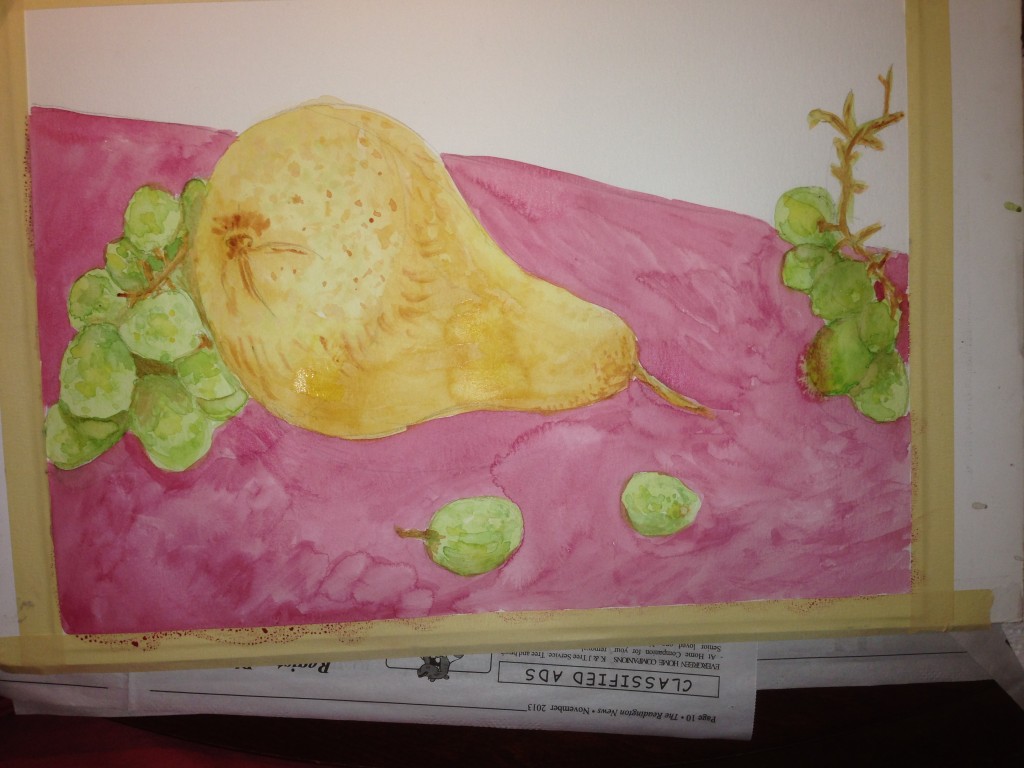
Now, I lay down some color to the foreground, knowing that I'm going to add more texture so I'm not concerned with getting my watercolor smooth.
I do the same for the background, as well as now going back into my dry areas on the fruit to add more texture and lines. I've also added some darker shadows at this point
Now I apply the texture in the foreground area using a darker hue and more pigment of the watercolor paint.
Then I add a little more texture to the background and foreground. And to put some finishing touches, I use a bit of white Gouache for some highlights.
And there ya have it folks. Hope you enjoyed a little peek into my process!

