Pearl of Potential

5696515 Last week, I had the privilege of visiting Pearl Paint art supply store (Canal Street, NYC). Pearl represents a certain nostalgia to me. It was the store that my high school Art teacher, Mr. Hijuelos, spoke of, with a glimmer in his eye. It was the store that I visited to purchase a lot of my art school supplies when attending The Fashion Institute of Technology and The School of Visual Arts. As I climbed the old creaky stairs visiting each floor, a rush of memories flooded back to me about those old days. They were days of eager expectation. Days of wonder and learning. Days of potential and future possibilities.

As I walked the isles, I was thinking about not just products, but tools that could be used to create. Tools that would come to life in the hands of artists. This was more than laptops and software -no cold metal and machine, this was hands on, tactile. And it was wonderful.

It was as if each item called to me. Experiment. Play. See what comes. It's the potential of what could and should be in the art of creating. I even splurged a bit and bought a few clearance item watercolors.

The longer I stayed, the more I was reminded of how much Pearl was an appropriate name. It drew me in and caused me to wonder. To think about my passion, my projects and ideas. Sure, I could probably order most of this stuff on Amazon.com, but I would be robbed of the experience of walking the isles. Interacting with the supplies. The Sights - vivid colors. The Smells. The wonderment of new tools I had never seen before.

If you're an artist, do yourself a favor soon. GO visit a local art store. Drink in the experience. Pick up brushes. Feel paper. Smell the oil pastels. You just might leave more inspired. Not to mention, you might have some new fun tools to experiment with!

 

Art Process: A Pear of Grapes

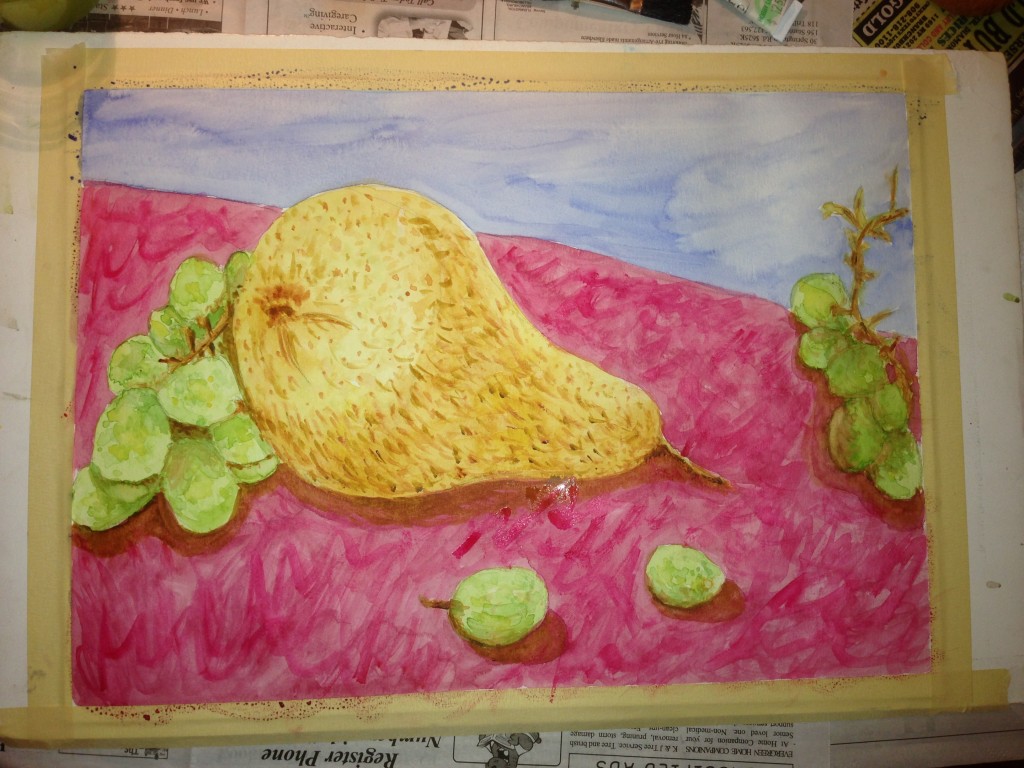
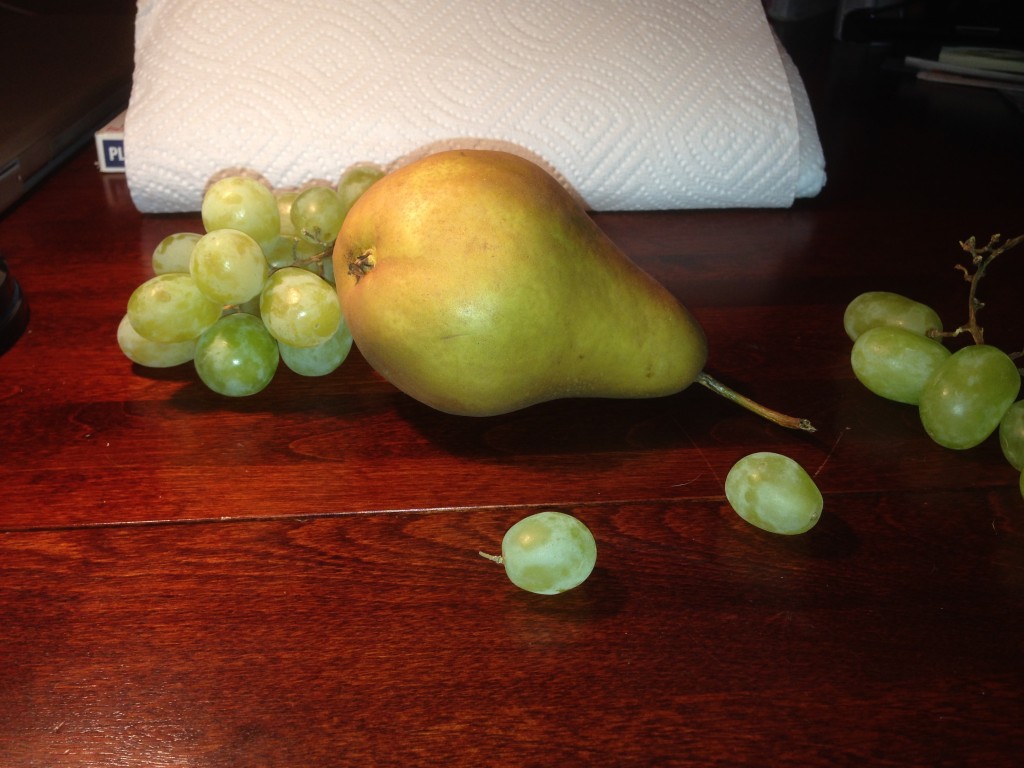
Did you ever look at a piece of art and wonder how it got to the finished piece before you? It's a rare thing to see art as it goes through it's various stages. Well, today I'm going to let you in on my process for this watercolor still life I've called "A Pear of Grapes". First, I set up some fruit and lighting (for some drama) to my liking. I knew I wanted a few different areas to avoid everything all clumped in the same place.

Photo Nov 03, 3 25 32 PM

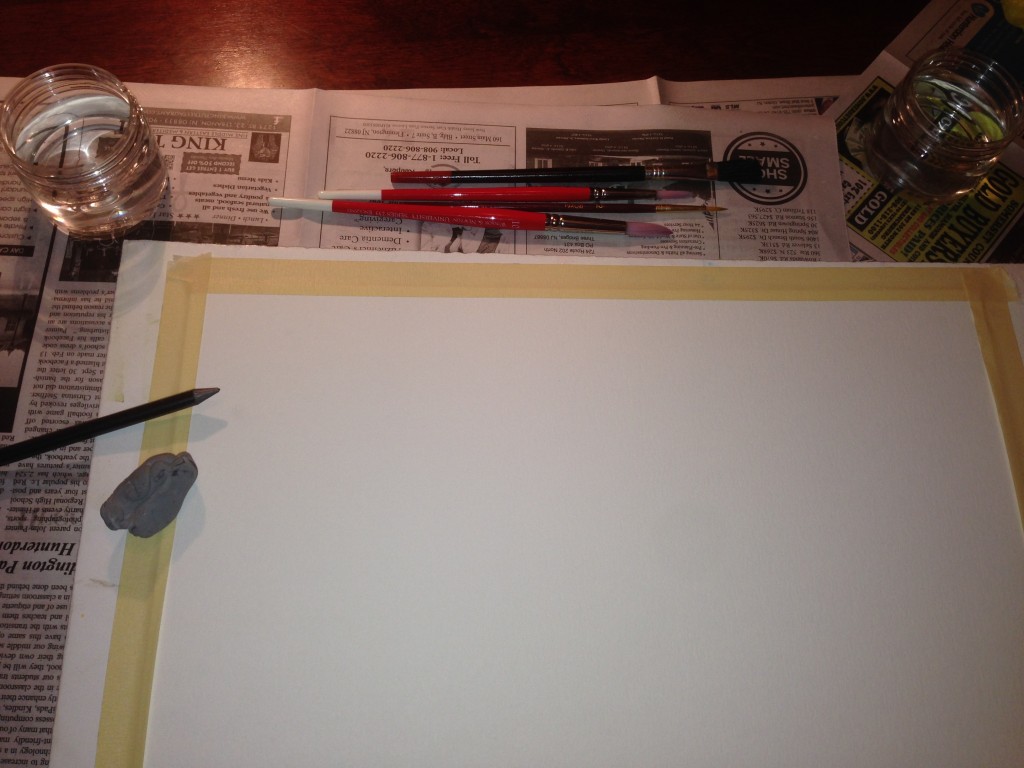
Next, I taped down a piece of Watercolor paper (Strathmore 140 lb) to a foam board. I'm using Winsor & Newton brushes and watercolor paints at the moment. Also pictured in a kneaded eraser, an HB Graphite pencil and two plastic jars for water.

Photo Nov 03, 3 19 29 PM

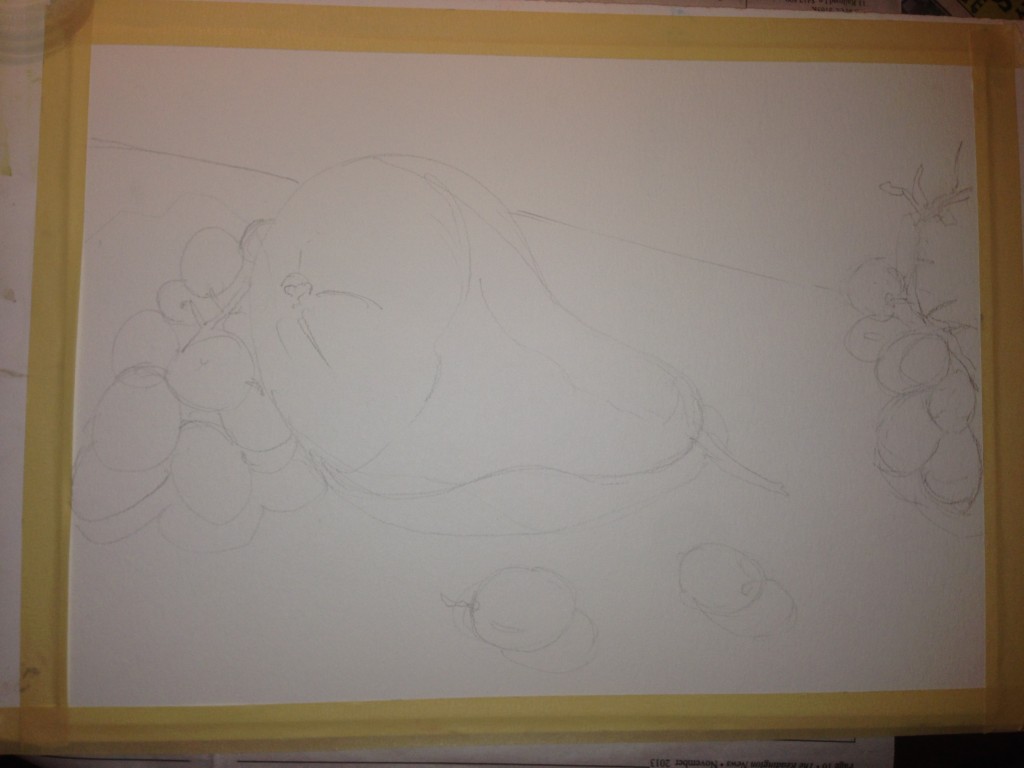
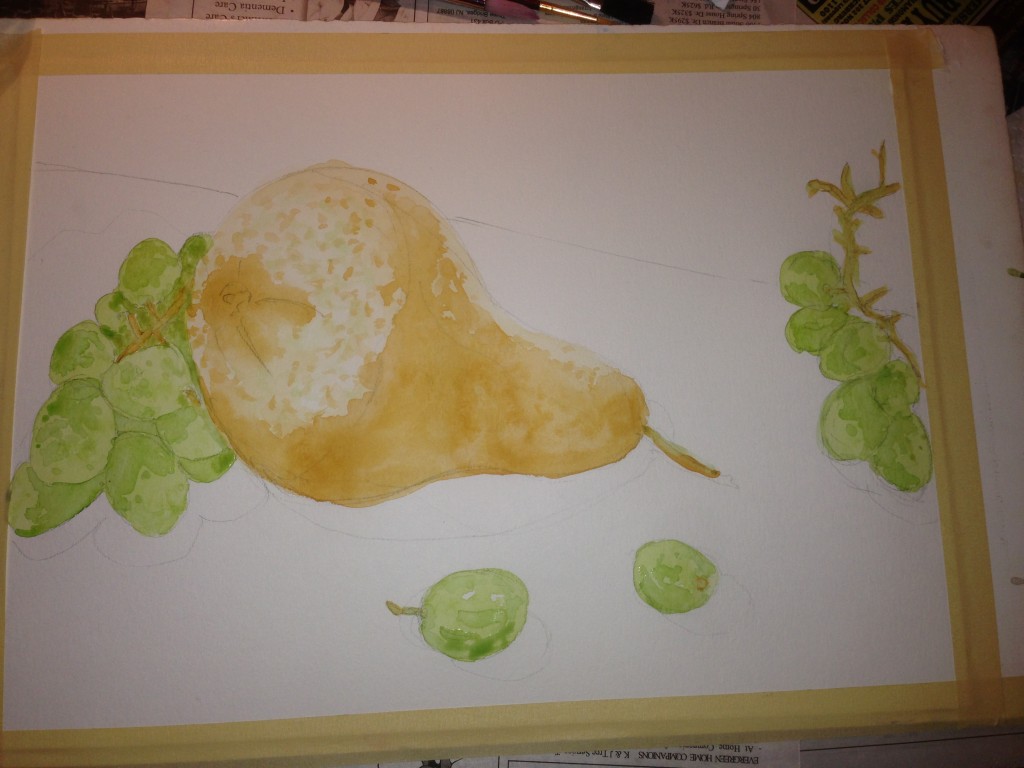
I started off with a simple pencil sketch to block out my composition.

Photo Nov 03, 3 25 49 PM

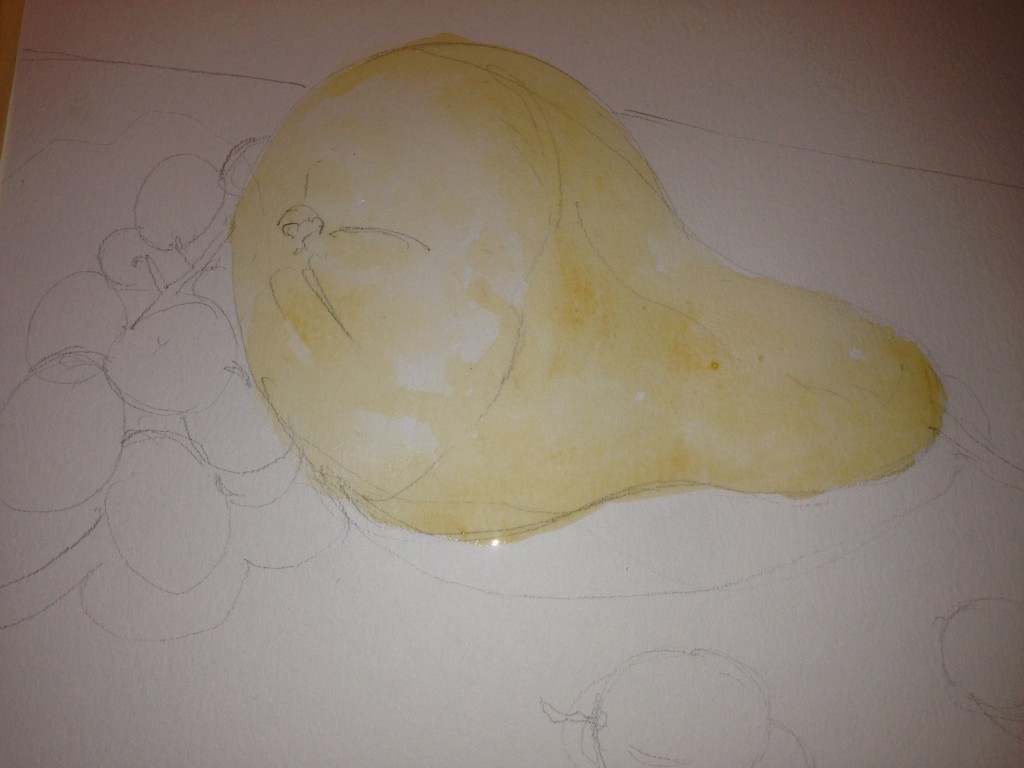
Starting with the lightest color, I lay down some wash of watercolor paint.

Photo Nov 03, 3 30 09 PM

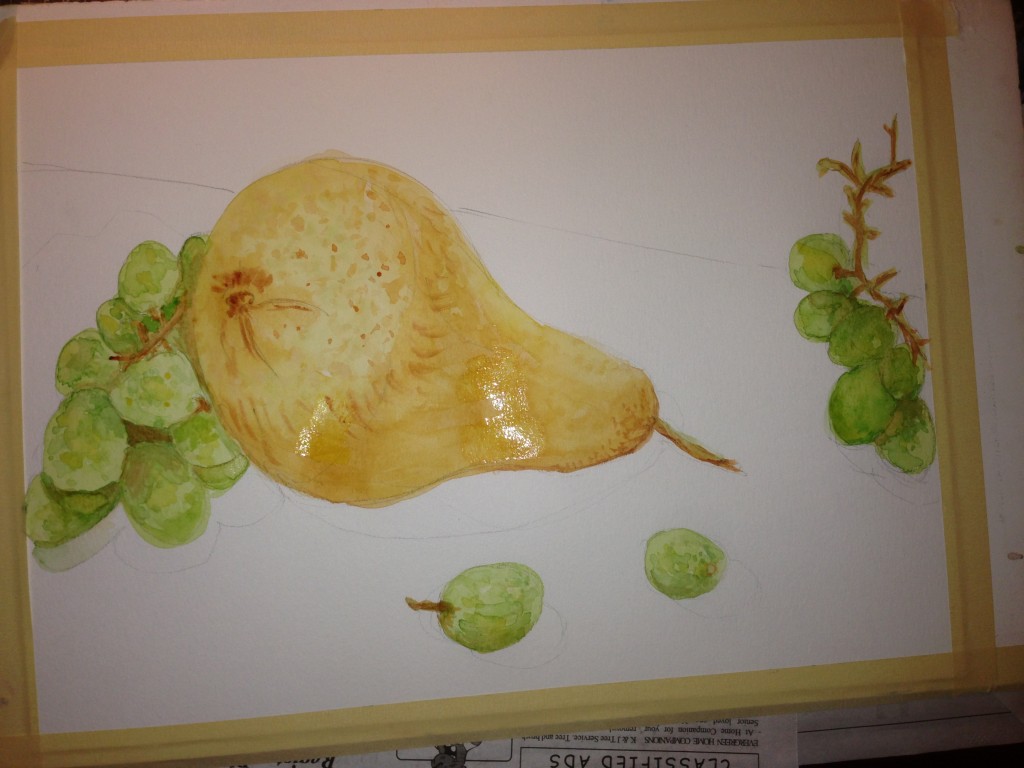
From there, I move on to add more color and a bit of texture, still keeping things light.

Photo Nov 03, 3 44 06 PM

I keep layering to get things a bit darker, while still keeping some light areas.

Photo Nov 03, 3 55 00 PM

I work the main subject until I feel like I'm at a good place to switch things up (or waiting for an area to dry before working a bit more).

Photo Nov 03, 4 14 35 PM

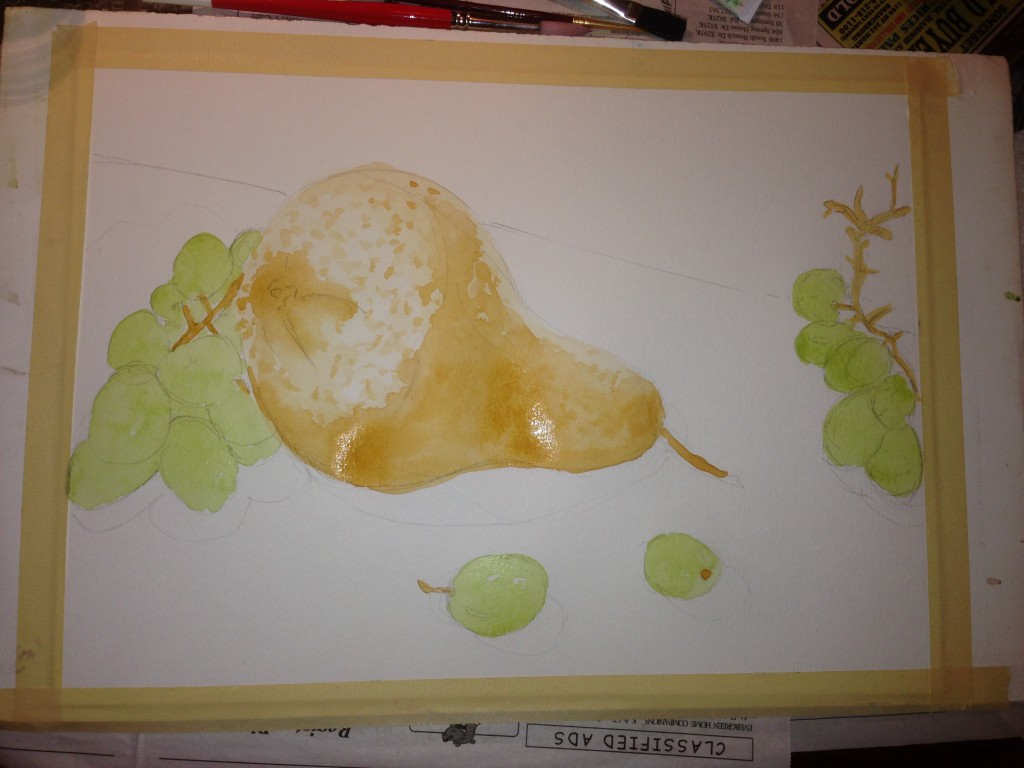
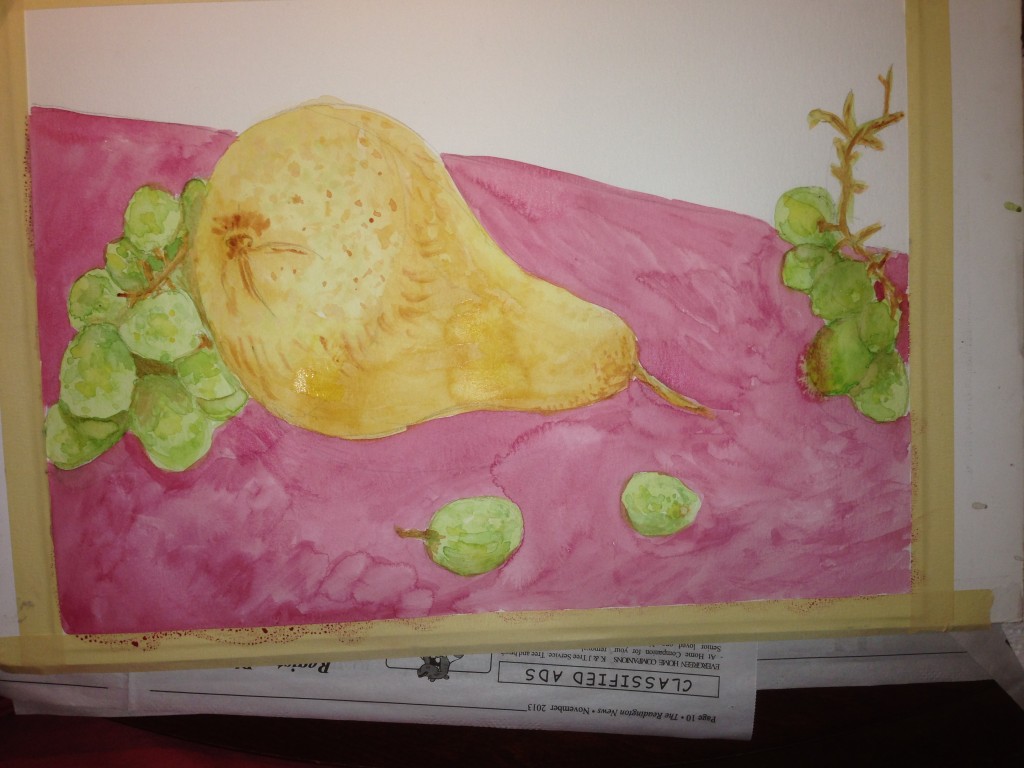
Now, I lay down some color to the foreground, knowing that I'm going to add more texture so I'm not concerned with getting my watercolor smooth.

Photo Nov 03, 4 22 47 PM

I do the same for the background, as well as now going back into my dry areas on the fruit to add more texture and lines. I've also added some darker shadows at this point

Photo Nov 03, 4 42 54 PM

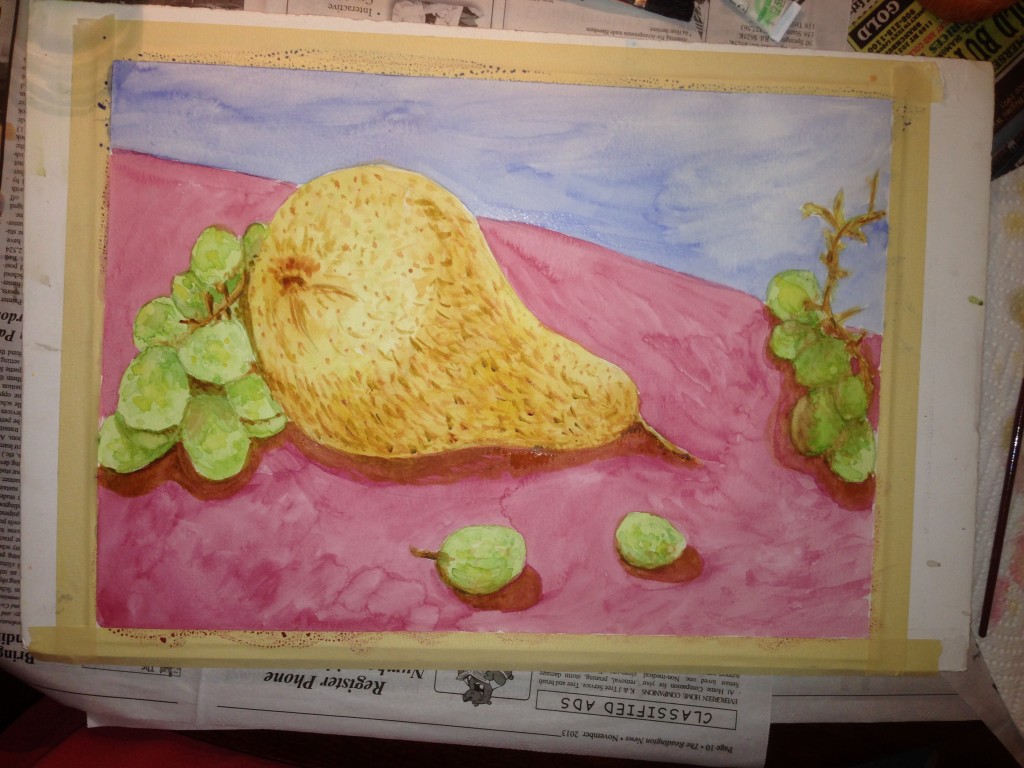
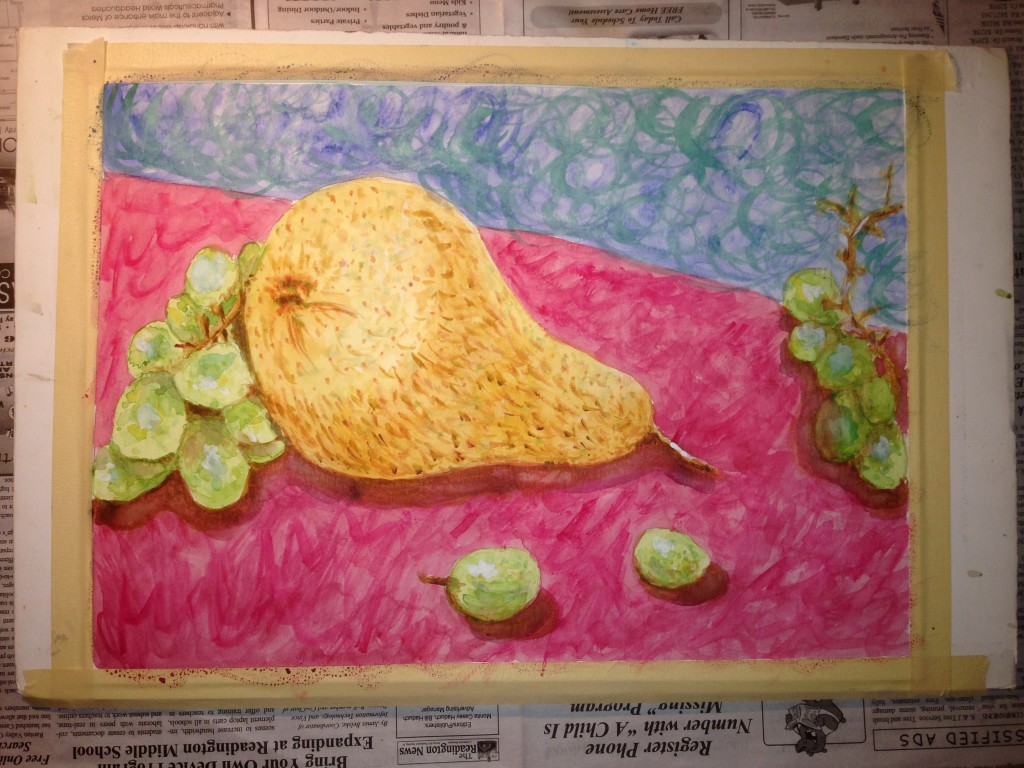
Now I apply the texture in the foreground area using a darker hue and more pigment of the watercolor paint.

Photo Nov 03, 4 46 05 PM

Then I add a little more texture to the background and foreground. And to put some finishing touches, I use a bit of white Gouache for some highlights.

Photo Nov 03, 5 15 30 PM

And there ya have it folks. Hope you enjoyed a little peek into my process!


How This Moth Took Flight: My Artist Process

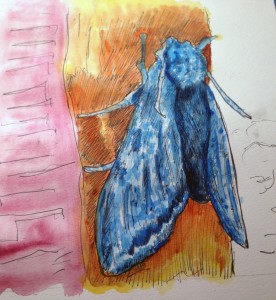
A couple of weeks ago I announced the winner of my contest. Jeannie Pauly (@rovingsprout on Instagram) was the lucky winner with her submission of her huge moth photo.  A perfect Autumn subject (and yes, kinda creepy). The original art will be en route to her this week! image

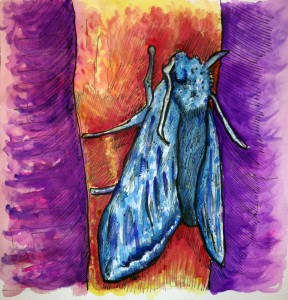
I figured I'd take this opportunity to not only show the final illustration that Jeannie will be receiving but also show a bit of my process. I know that as an artist I love to see other artist's process. So here we go:

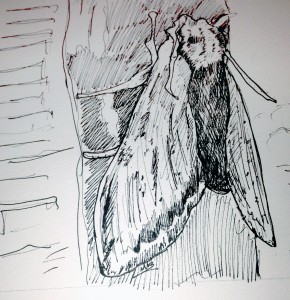
First, I go right to drawing out the moth and surrounding pole / background with my Staedler pens (black waterproof ink - 4 pen set sizes .1 .3 .5 .7). I start with a .3 in size and work my way up to a .7 where I want to add a little thicker lines and darker areas. I used to start with pencil, but found that I erased too much & was too noncommittal in my line. I switched it up after reading a book challenging me to go right for pen, as it helps you with more confident line. And it forces you to work with the line you've made, rather than to get stuck in constantly erasing & redrawing, never moving on to the rest of the process.

Photo Sep 29, 3 19 15 PM

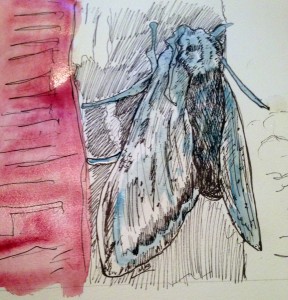
Then I lay down some watercolors - starting with lighter colors and hues. A little wash here and there. A happy little moth. For brushes, I primarily use water brushes like these. But on this one I also used a few watercolor brushes I have kicking around. Nothing special.

Photo Sep 29, 3 24 57 PM

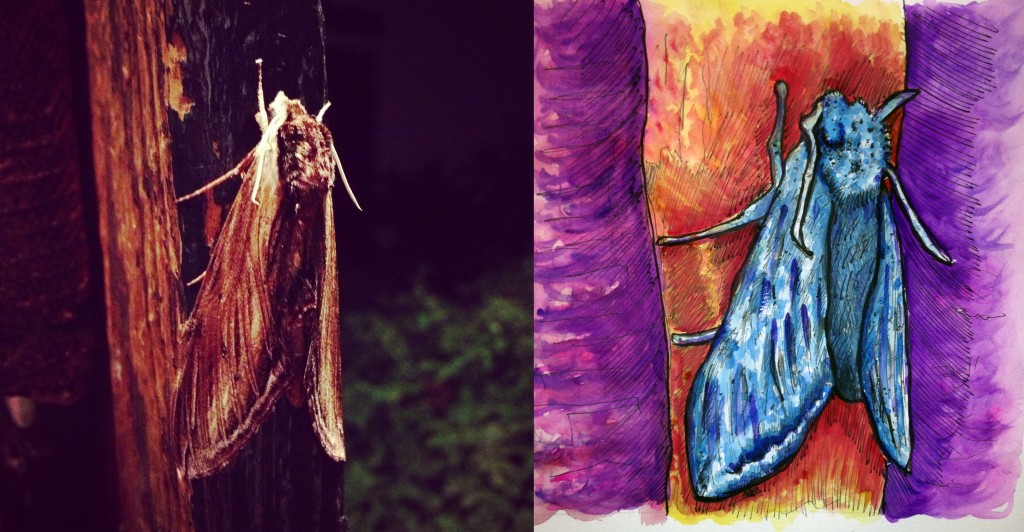
I build that up getting darker and darker, defining more of the shadows.  I have several sets of watercolors I use. It usually is more about selecting the right colors than sticking with a certain brand. I used a few different pan sets for this one. I tend to like colors that pop, and didn't want to keep the brown and almost monotone feel of the original photo.

Photo Sep 29, 3 38 53 PM

Then once the watercolors are dry, I'll go back in to a few spots to hit with a darker black Take-sumi ink (that isn't waterproof). I use my TWSBI pen for this finishing touches stage. And, voilà...

Photo Sep 29, 4 11 57 PM

And there you have it folks.  Here's the original and the final art! I give you "Moth-er, May I?"

FINAL_MOTH