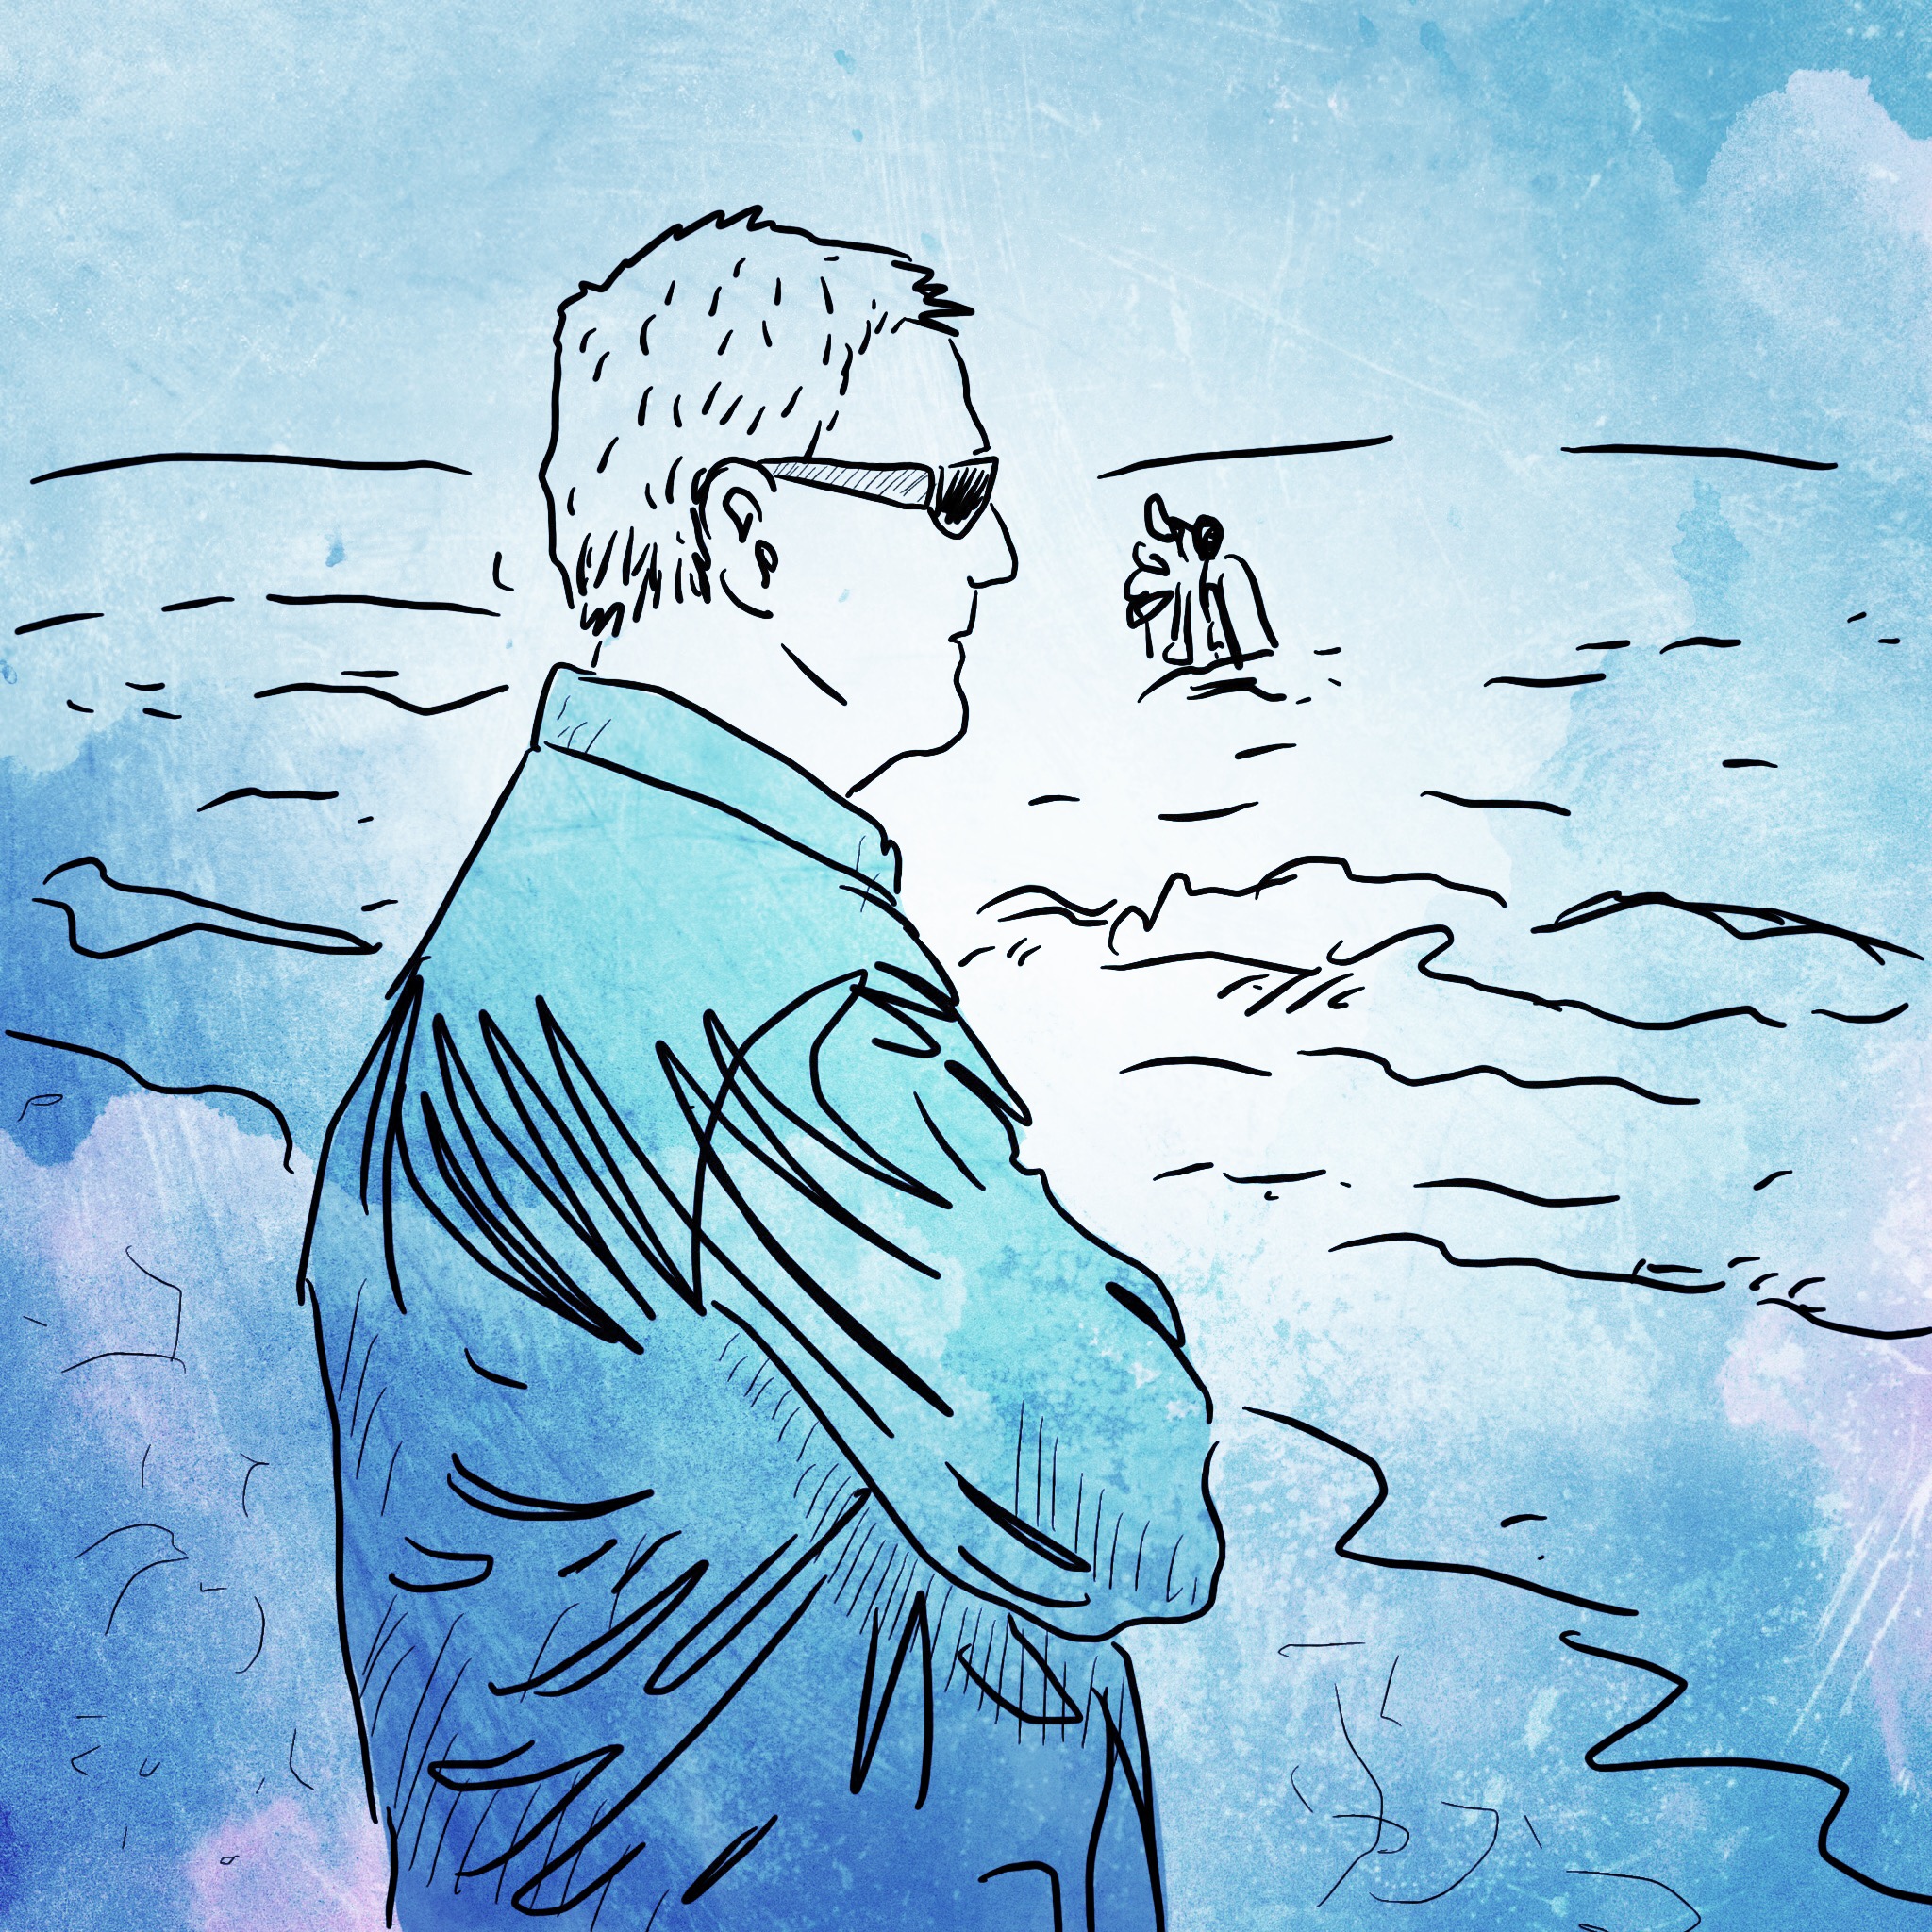
Sketchclub video: Drawing my Daughter

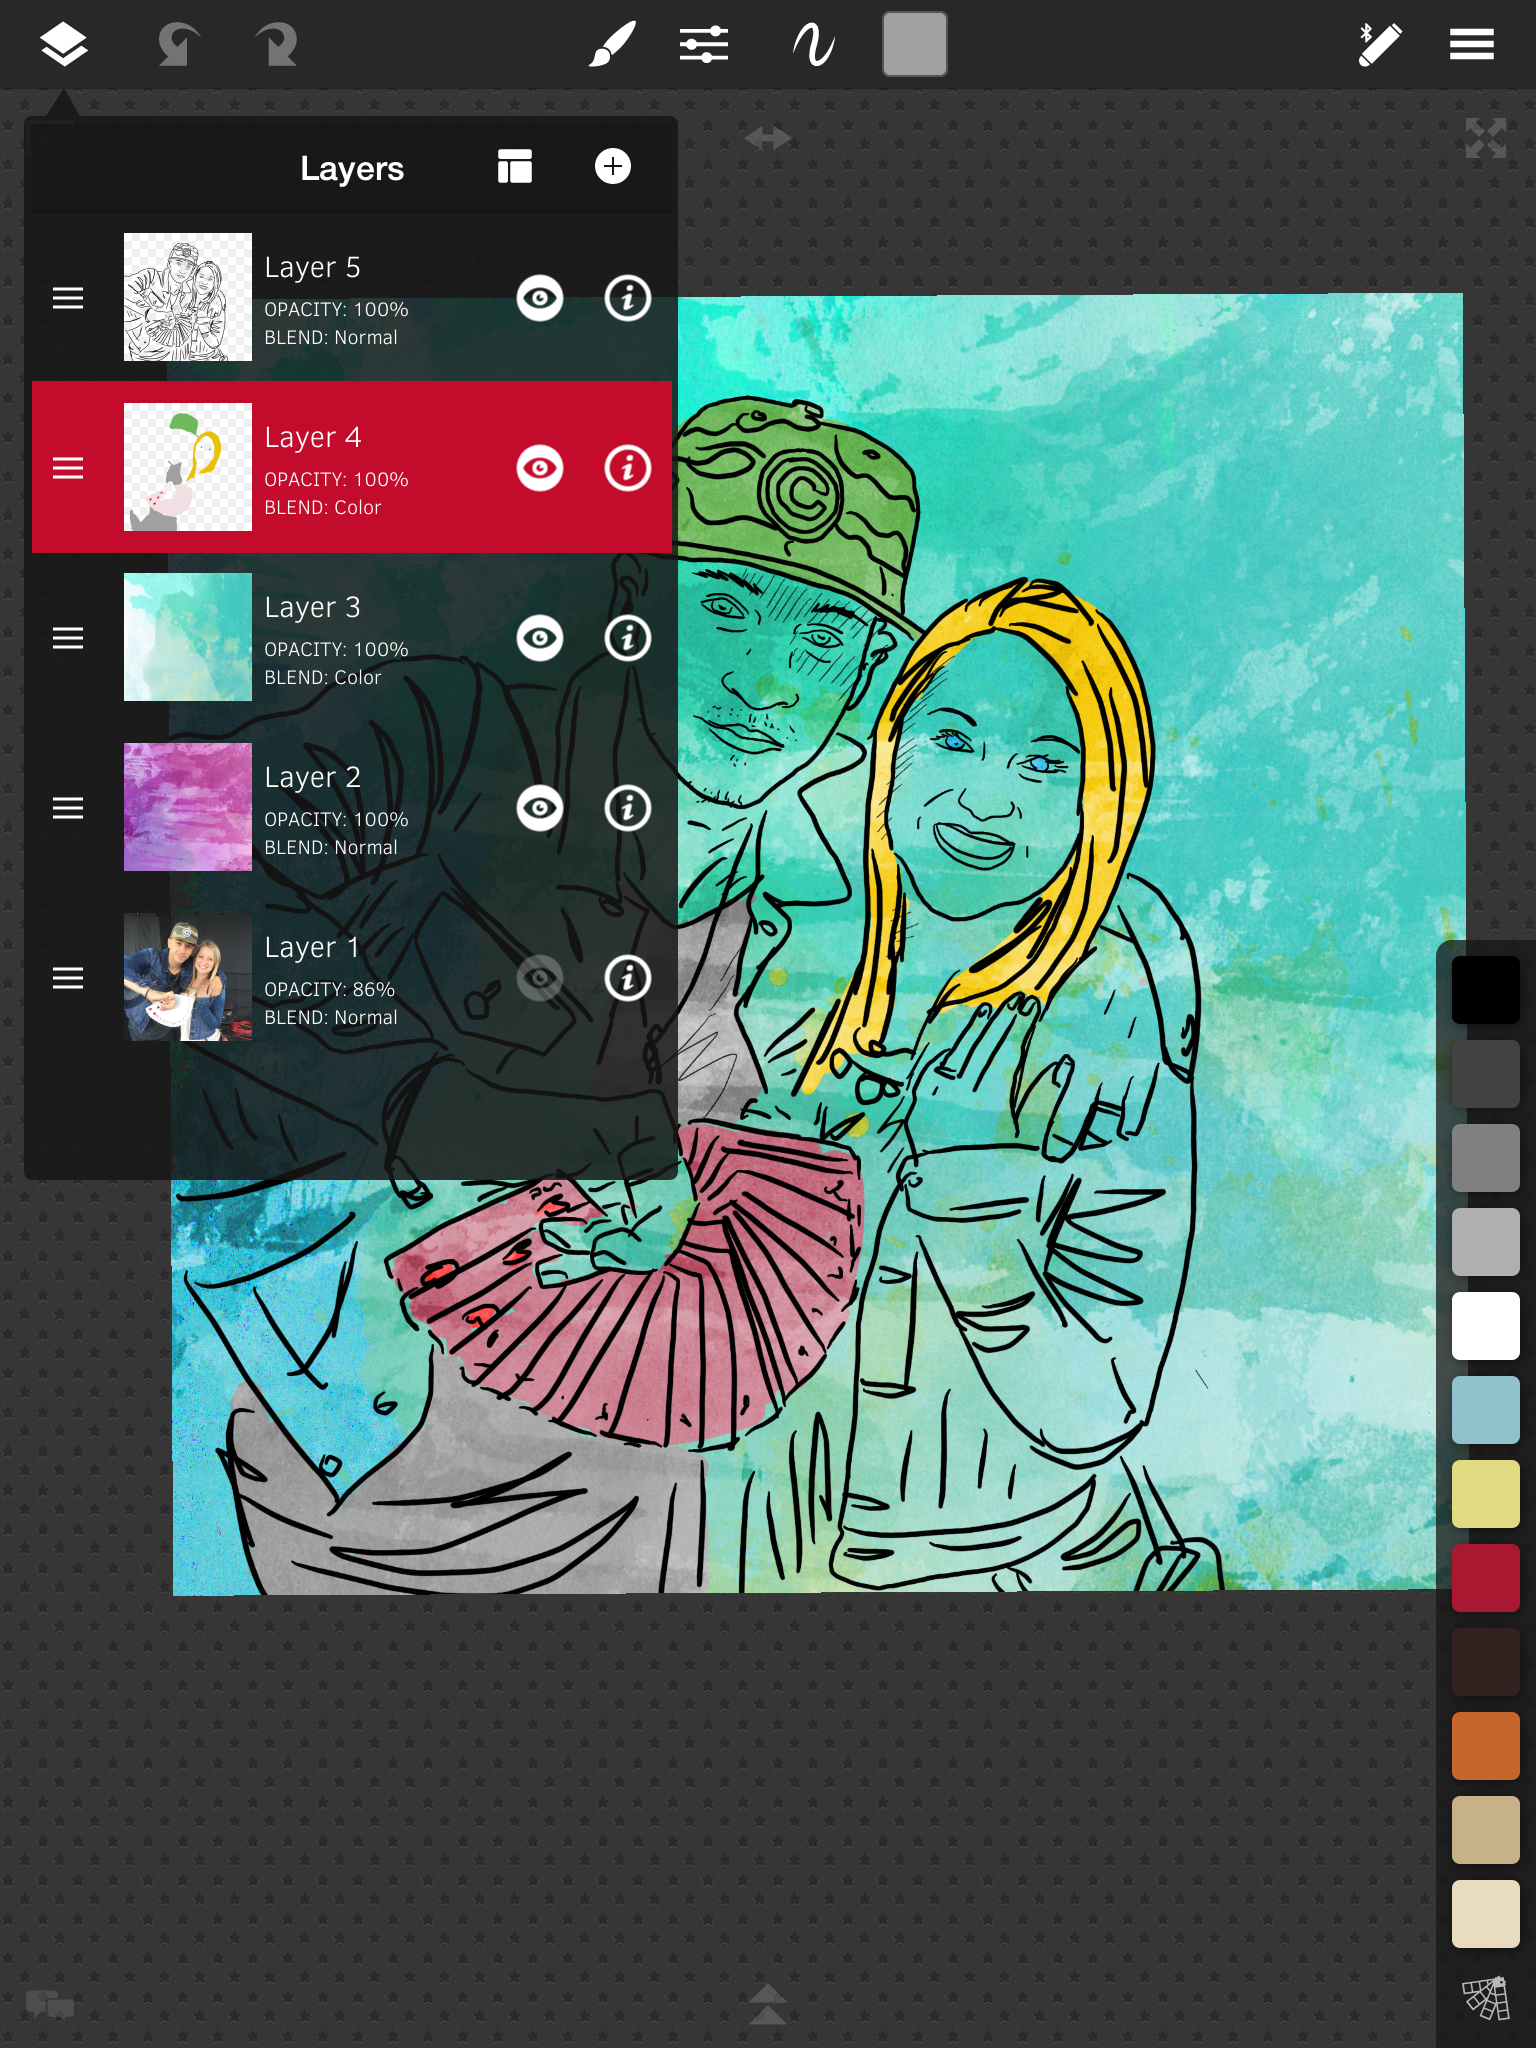
This time around, I'm going to show you my process in an app for the iPad called Sketchclub. One of the great features of Sketchclub is the ability to add layers and gives you a host of options for brushes and pens. I combine some of my analog drawing techniques with some of my photoshop design background. The result is a very fluid, organic process and feel that takes advantage of the tech side as well. Hope you enjoy this recording straight from Sketchclub itself. https://youtu.be/xIYaRU_VUFM


Creating Summer Troopers

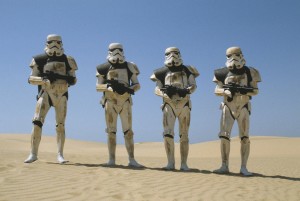
Let's face it, here in the Northeast, we're all beyond sick of snow this winter. So besides complaining on Facebook, I found a little inspiration to follow hoping it leads to sunny days soon. I was perusing my Facebook stream and came across the following photo from the Star Wars page I follow (don't judge). As soon as I saw it, my mind saw the image I needed to create.

1956773_704641286254142_160972910_o

The following was my process on creating "Summer Troopers" as a digital art file on my iPad.

First I downloaded the Trooper photo from Facebook to my photo camera roll on my iPad.

Then using an app called "Sketchclub" I created a new document and placed the photo on the first layer. After rotating and scaling, I changed the opacity to somewhere around 50%.

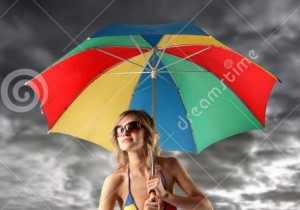
The I went hunting for the additional images I needed to use as source for the umbrella and man's legs/swim trunks. Once I found those I imported them on separate layers, scaled them, cropped out all the excess of the image and change the opacity to 50% as well.

http://www.dreamstime.com/royalty-free-stock-images-rainy-image9690409Photo Feb 27, 3 01 30 PM

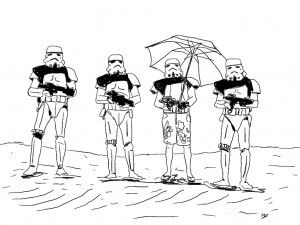
Starting with the Trooper layer, I selected a new layer where my black line art would live. Once I hid the umbrella & swim trunks layers - I was ready to trace over the troopers with a black fountain pen setting.

Photo Feb 27, 9 16 33 PM

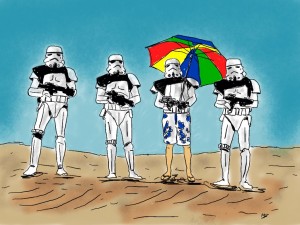
I did the same process for each the umbrella layer & the swim trunks layer until my black line drawing was complete. Then I selected another layer where i added flat colors for the ground and the sky. I placed this layer underneath the line art. I then created another layer on top of the flat color to add a few shadow spots and set the layer to "Darken" mode and decreased the opacity to taste. The only portions left to color were the umbrella and swim trunks, so I created another layer directly under the line art and applied the color with a brush tool.

Photo Feb 27, 7 31 21 PM

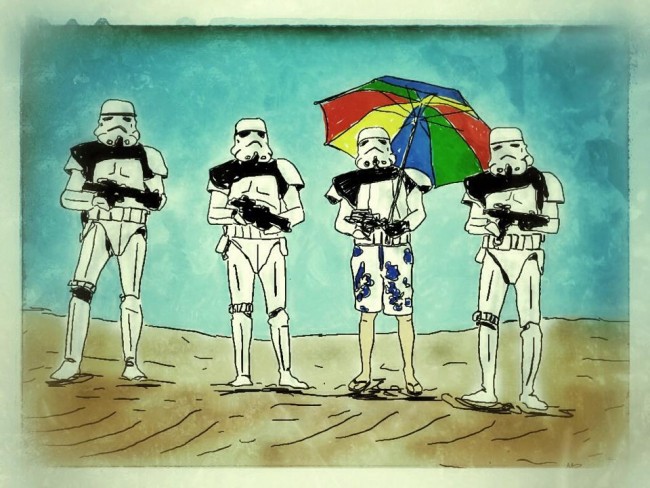
Once my art was complete I saved a JPEG back to my camera roll. Then I opened that Jpeg in an app called Snapseed (a great little photography app!). In Snapseed I adjusted some contrast, saturation (in the "Tune Image" area), added a frame from one of the presets (Frames) that gave it a nice messy edge, and lastly some texture (The Grunge feature - messed around until I got the style & strength I wanted), added some "scratches" for final touches. The reason I added a frame and then the grunge waas so that the grunge effect would show on the frame as well as the image area. Finally, I exported again to my camera roll and Viola - the final digital image of "Summer Troopers"

summertroopers

I hope you enjoyed that quick description of my process. Just remember - have fun, play and remember there's a bunch of tools and methods to help you experiment! Happy creating!