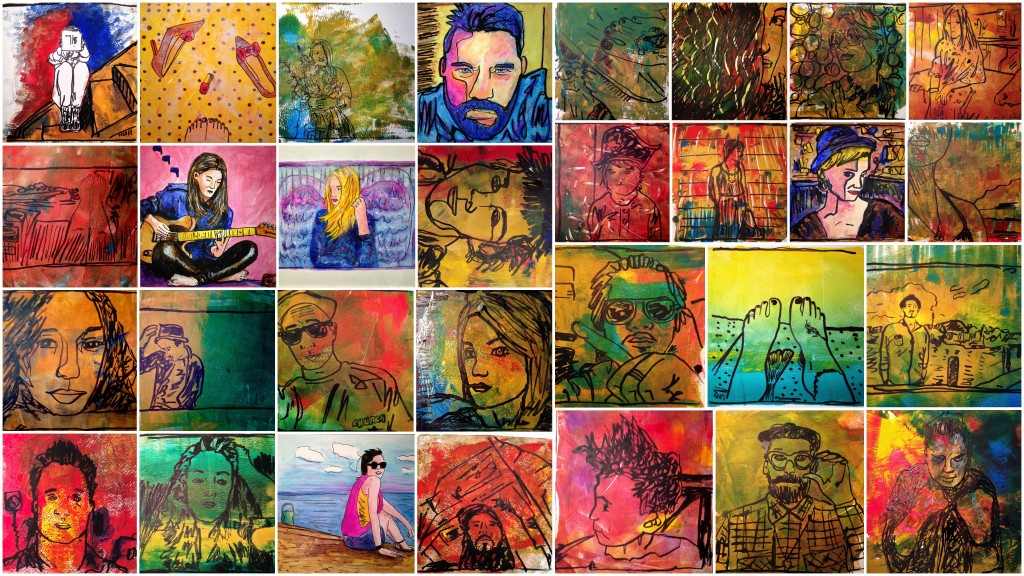
30 Paintings in 30 Days Complete Project
30 in 30: Day 22
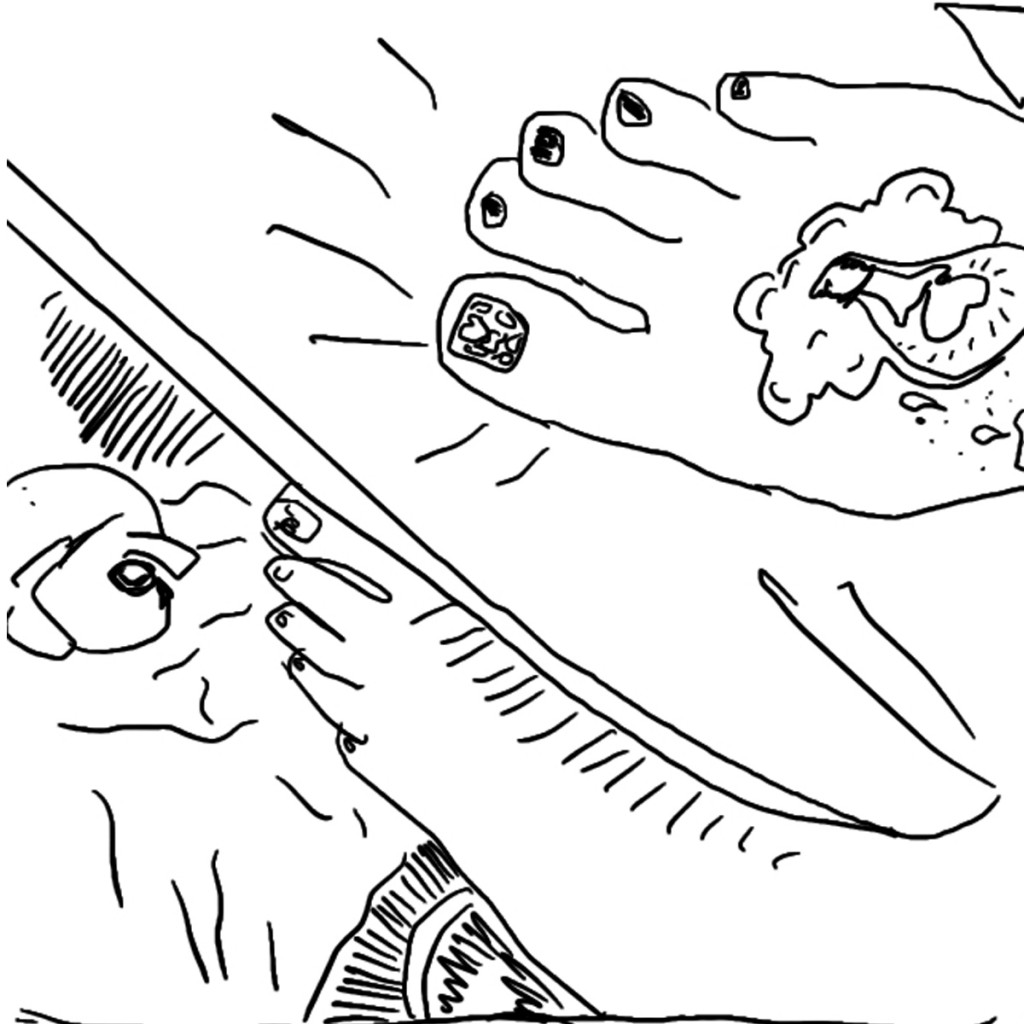
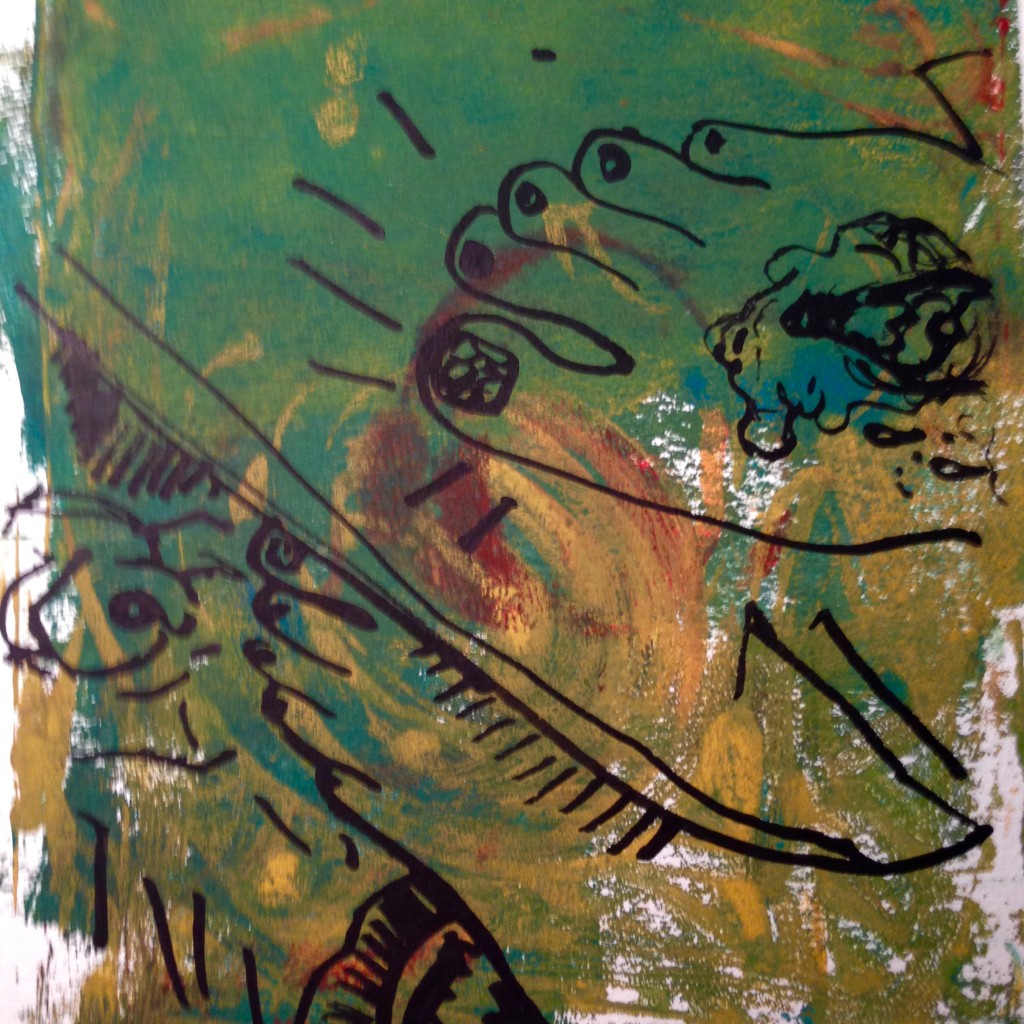
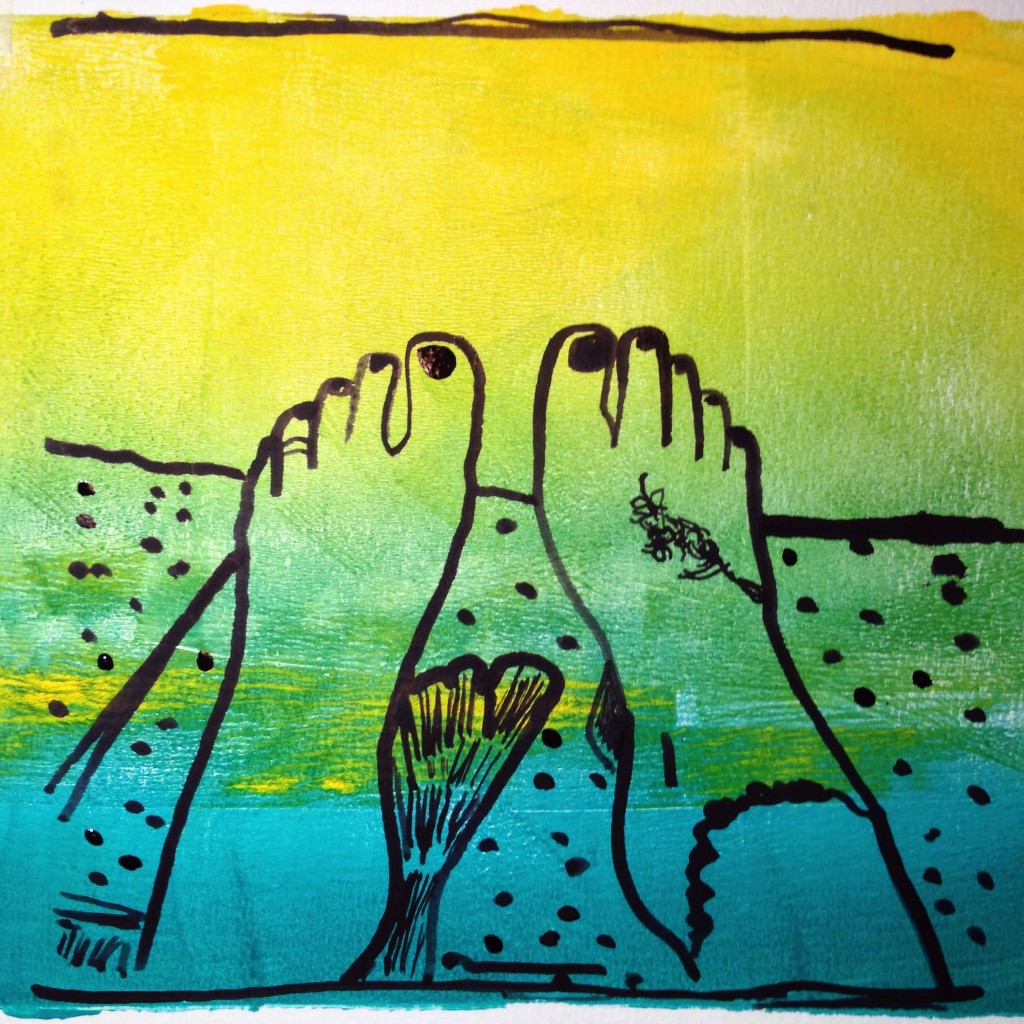
Day 22 of my 30 paintings in 30 days challenge. I'm using sketches i created from Instagram photos on my iPhone I did as part of a 100 day project and turing 30 of them into paintings. User: @mrs_kier
Original Instagram photo:
100 Day iPhone Sketch:
30 in 30 day painting:
Acrylic & Ink. 8 x 8 on 140 lb. watercolor paper.
30 in 30: Day 15
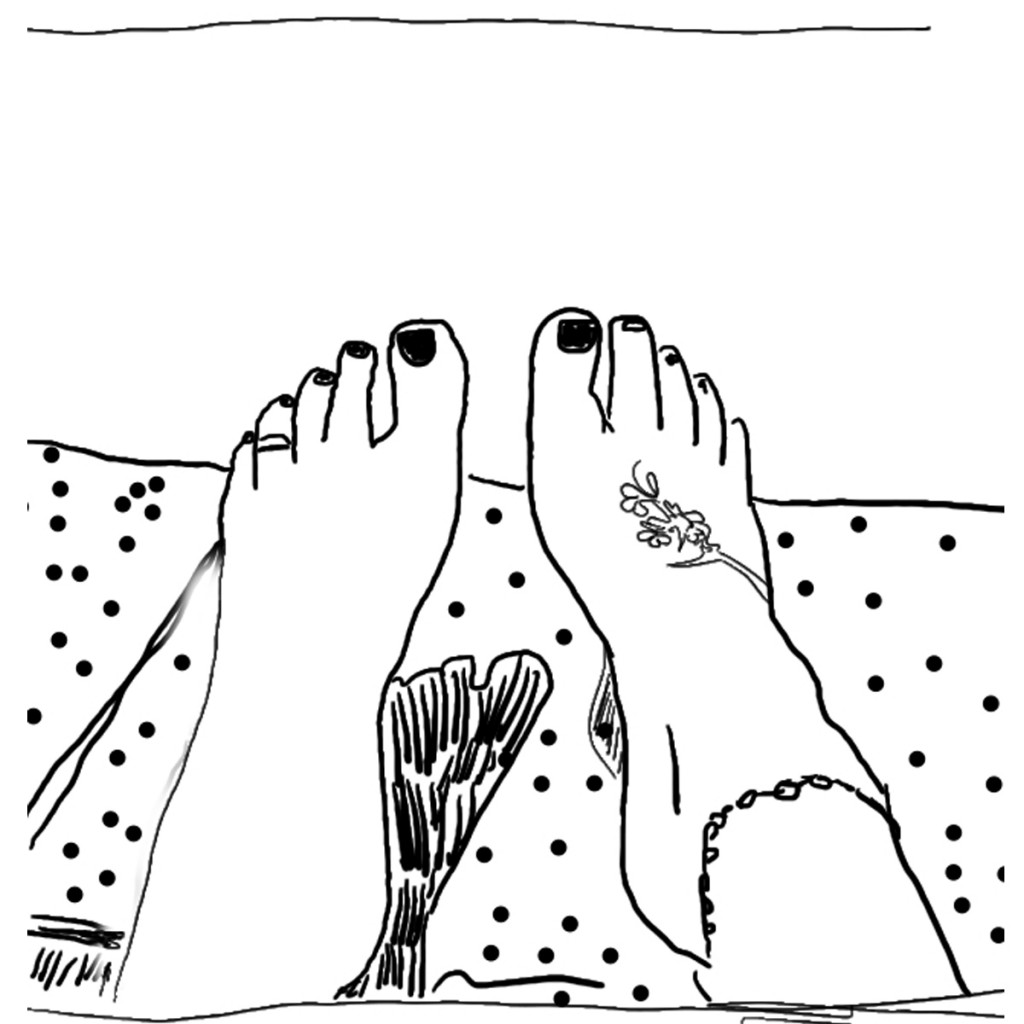
Day 15 of my 30 paintings in 30 days challenge. I'm using sketches i created from Instagram photos on my iPhone I did as part of a 100 day project and turing 30 of them into paintings. User: @madisonkaytucker
Original Instagram photo:
100 Day iPhone Sketch:
30 in 30 day painting:
Acrylic & Ink. 8 x 8 on 140 lb. watercolor paper.
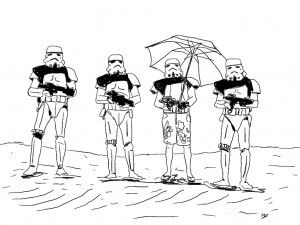
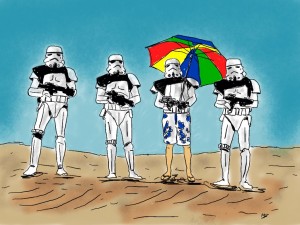
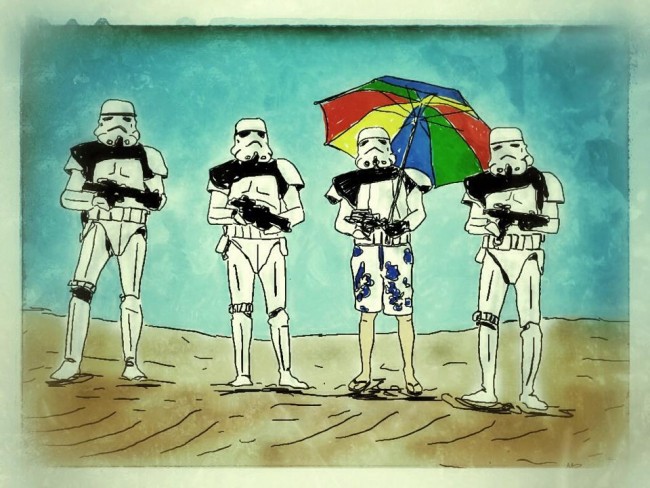
Creating Summer Troopers
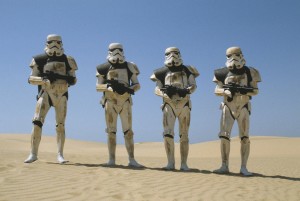
Let's face it, here in the Northeast, we're all beyond sick of snow this winter. So besides complaining on Facebook, I found a little inspiration to follow hoping it leads to sunny days soon. I was perusing my Facebook stream and came across the following photo from the Star Wars page I follow (don't judge). As soon as I saw it, my mind saw the image I needed to create.
The following was my process on creating "Summer Troopers" as a digital art file on my iPad.
First I downloaded the Trooper photo from Facebook to my photo camera roll on my iPad.
Then using an app called "Sketchclub" I created a new document and placed the photo on the first layer. After rotating and scaling, I changed the opacity to somewhere around 50%.
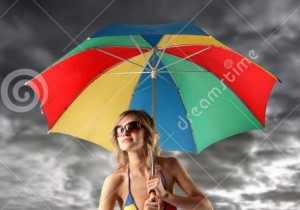
The I went hunting for the additional images I needed to use as source for the umbrella and man's legs/swim trunks. Once I found those I imported them on separate layers, scaled them, cropped out all the excess of the image and change the opacity to 50% as well.
Starting with the Trooper layer, I selected a new layer where my black line art would live. Once I hid the umbrella & swim trunks layers - I was ready to trace over the troopers with a black fountain pen setting.
I did the same process for each the umbrella layer & the swim trunks layer until my black line drawing was complete. Then I selected another layer where i added flat colors for the ground and the sky. I placed this layer underneath the line art. I then created another layer on top of the flat color to add a few shadow spots and set the layer to "Darken" mode and decreased the opacity to taste. The only portions left to color were the umbrella and swim trunks, so I created another layer directly under the line art and applied the color with a brush tool.
Once my art was complete I saved a JPEG back to my camera roll. Then I opened that Jpeg in an app called Snapseed (a great little photography app!). In Snapseed I adjusted some contrast, saturation (in the "Tune Image" area), added a frame from one of the presets (Frames) that gave it a nice messy edge, and lastly some texture (The Grunge feature - messed around until I got the style & strength I wanted), added some "scratches" for final touches. The reason I added a frame and then the grunge waas so that the grunge effect would show on the frame as well as the image area. Finally, I exported again to my camera roll and Viola - the final digital image of "Summer Troopers"
I hope you enjoyed that quick description of my process. Just remember - have fun, play and remember there's a bunch of tools and methods to help you experiment! Happy creating!


